Visit my BIRDS & DAFFODILS nature blog.


Sunday, December 29, 2013
Saturday, December 28, 2013
PAINTING & AGING WALL MEDALLIONS FOR DENA'S NEW HOME
Dena found these medallions online. They were a solid grayish color and she asked me to paint them these brown tones for the outside of her new home.

I think she is going to put them on a wall of her covered patio.
They look really nice against the paint color of her home.
I painted them a base light brownish color and aged them with a very dark brown color.
I painted the dark brown on and wiped it off. Can you see that I left them a little darker in the recessed areas?

Also, I painted them "antique copper" with gold. After I painted the copper and gold, I used that same dark brown to age them.
My flash is making them look sooo bright copper, but that's not how they looked in person.
They were very toned down with the aging glaze.
Dena said they looked really nice in her home.
Wednesday, December 25, 2013
RE-PAINTING CHRISTA'S VENT-A-HOOD FROM "ANTIQUE COPPER" TO MATCHING HER KITCHEN CABINET SPECIAL FINISH
RE-PAINTING CHRISTA'S VENT-A-HOOD FROM "ANTIQUE COPPER" TO MATCHING HER KITCHEN CABINET SPECIAL FINISH
A few months ago, I painted Christa's kitchen cabinets. For her vent-a-hood, she wanted me to paint my "antique copper" special finish. This is the link to Christa's kitchen with the "antique copper" finish.
She lived with the "antique copper" finish for a few days and called and told me she thought it was just too dark for the lighting in her kitchen. We decided to paint it to match the kitchen cabinets. Because of the texture on the vent-a-hood it is a little different, but looks very, very, very nice.
If she had decorated with copper pots and copper accessories, the "antique copper" would have looked great, but she just couldn't live with the darker color. And, my client is the "boss".
Actually, I agree with her. I like (LOVE) the lighter vent-a-hood.

This desk and cabinet are in the room next to the kitchen and
she asked me to paint them to match the kitchen cabinets.
It didn't have doors so, she had two made before I started painting.
The doors made a huge difference and she said they would hide her clutter.

This is a close-up of the special finish on the desk..
The kitchen is a different technique, not crackled, but they're both the same color.
I only have a few more painting projects at Christa's house. The different projects that I've done have made a dramatic difference to her already beautiful home.
I'll miss working with them and playing with little Cody.
Monday, December 23, 2013
MY BEAUTIFUL MARTHA GONZALES ANTIQUE ROSE IS BLOOMING IN WINTER
Visit my Birds & Daffodils nature blog.
Saturday, December 21, 2013
SPECIAL TUSCAN FINISH I PAINTED ON JACKIE'S KITCHEN CABINETS-REVISITED
A couple of years ago, I painted a special finish on Jackie's kitchen cabinets.


Recently, she asked me to come back and do more painting for her. She wanted me to paint her white mantel and do some work in one of the upstairs baths.
It made me feel proud to see her beautiful kitchen, again.

Originally, her cabinets were an orangey oak stained wood and that color just didn't go with her decor. And, she just wanted to do something different, so this is the new special finish in her kitchen.
~
This is the link to the original post:

Her kitchen island was stained oak, too, and back then she wanted me to paint it a bluish color to match her draperies. Now, it looks more like a piece of furniture than a kitchen cabinet.
~
This is the link to that original post:
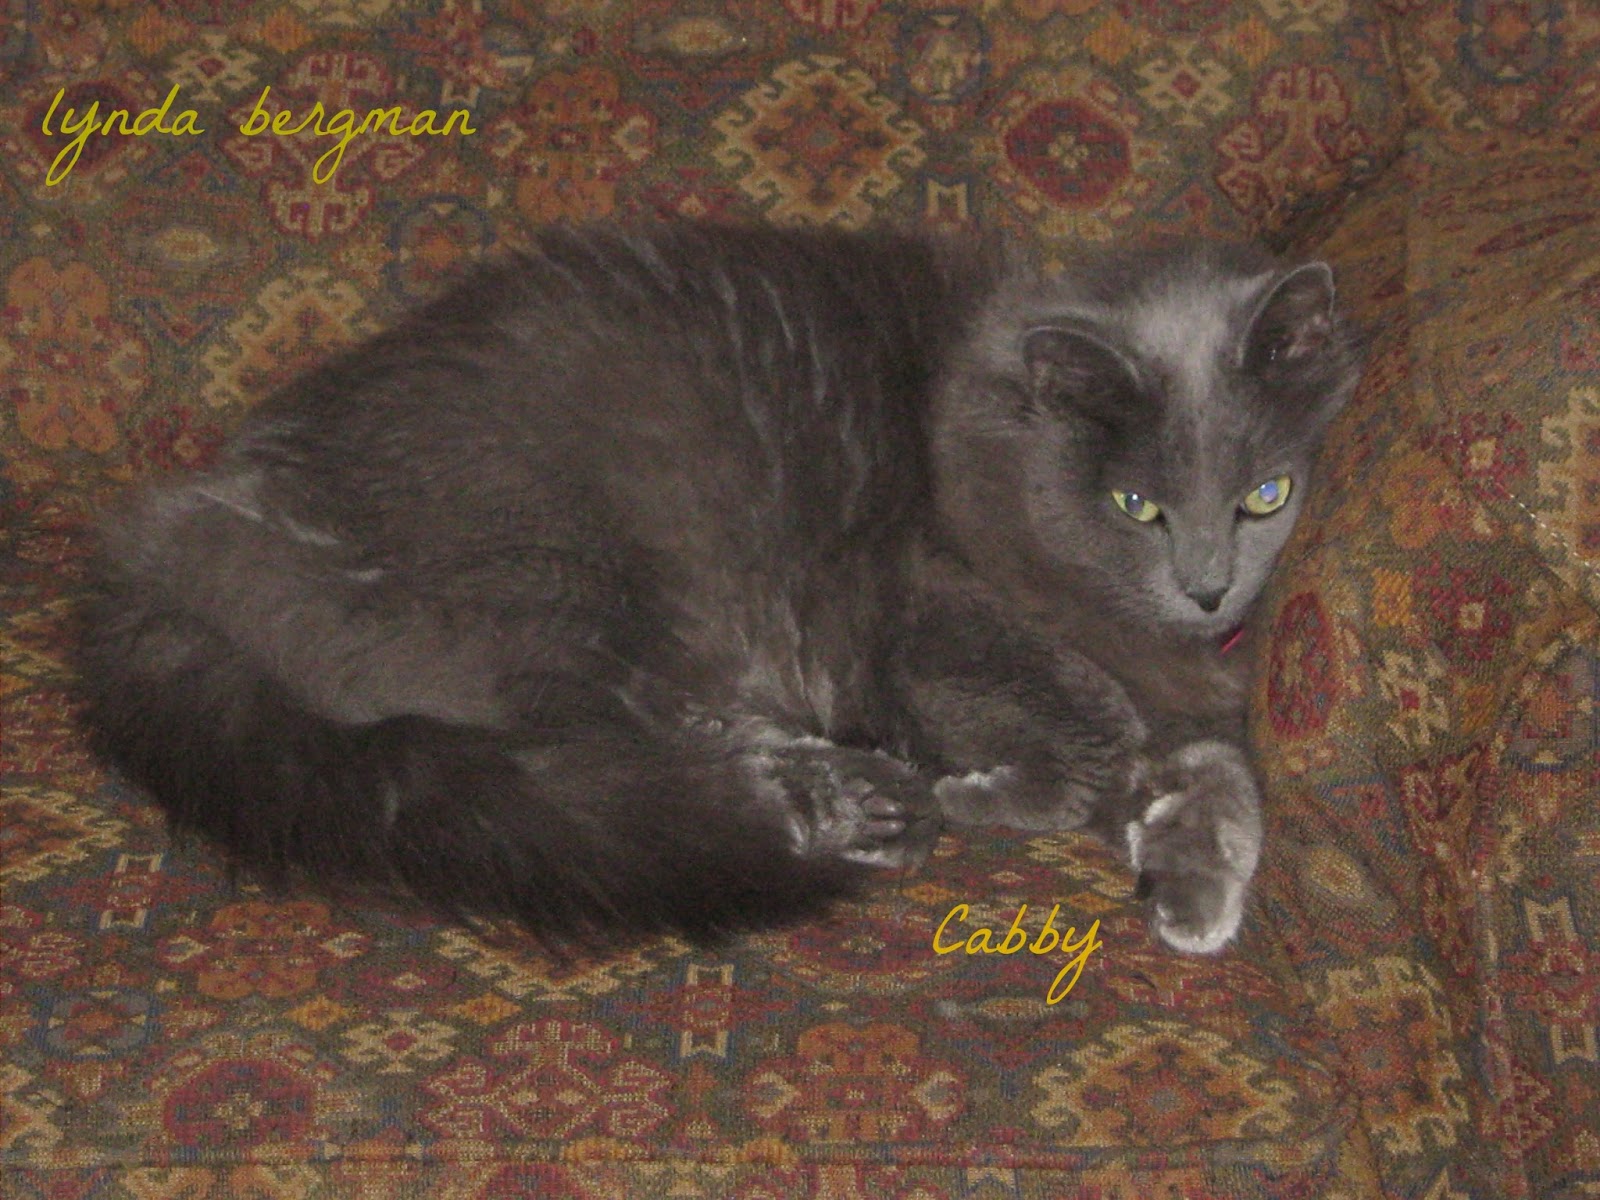
This is friendly Cabby. She's all snuggled into that warm chair and looks so pretty with those fabric colors. She's a little rescue cat.

Now, when I went back to work at Jackie's I noticed that WHITE door in the middle of her rich dark cabinets. I'm not sure why I didn't paint it when I painted the cabinets. Maybe she told me not to. But, this time I asked if I could paint the door and she said "yes".

See the difference, now!!
This looks soooo much better. The only reason I suggested painting that door is because it was a very distracting white in the middle of the kitchen, surrounded by dark cabinets.
I also painted the door frame and the tiny bit of baseboard that connected the dark paint, so there would be no white in that area.
The kitchen is so much warmer, now and really, really looks nice.
I have a very thick notebook of finish formulas that I've painted through the years. So glad I keep the formulas for projects such as this. I'm thinking that book of formulas might be worth a lot some day, when I'm gone! :)

Close up of the special finish I painted on her cabinets.
Look at that hardware! She searched and searched on the internet until she found exactly what she wanted on her new cabinets.
The next thing I'll be doing for Jackie is painting those kitchen chairs. She found a copper table that she wants for her kitchen and I'll do some kind of finish on the chairs to match the table.
Was so nice working for you again, Jackie!!
Friday, December 20, 2013
MY EARLY CHRISTMAS PRESENTS TO ME
Lookie at my early Christmas presents! A cordless drill and a compressor and nail gun combo. My other one is so old, it will be nice to have new tools.

The drill even came with a cute bag for storage. I got it early because I was afraid Lowes would run out of them. Gonna charge my drill tonight and can't wait to try to figure out how to use the nail gun.
I'm happy, happy, happy!!
Monday, December 16, 2013
PAINTING & STAINING A SPECIAL FINISH ON KATHY'S MASTER BATH CABINETS
Kathy did some major remodeling in her master bathroom and she asked me to paint a special finish on her cabinets. They were white washed/pickled oak and she wanted them to have a darker wood look to them.

Kathy picked the special finish from one of my samples and then, picked the color from another of my samples.
I primed the white washed oak and then stained the cabinets.


Meet Kingston and Phantom. Aren't they beautiful!!
Phantom is very old and all of the remodeling throughout the house was very hard on him. So, Kathy made him a special place in her large bathroom and he was in there with me as I was working. Such a sweet cat. And, Kingston can do several very impressive tricks for his treats.
I always enjoy the pets as I'm working in a home.

This turned out sooo pretty with her new floor and granite.
Thank you Kathy!
PAINTING THE EDGES OF BATHROOM BORDER TILES FOR LORI
Lori is is remodeling two of her bathrooms. She's getting new flooring, tile, granite, etc. When all of the major work is completed, I'll get to do a special finish on the cabinets and I'll share pictures of those with you.
The first batch of border tiles came in ok. But, when she placed a second order, thirty two of them came in with the edges unfinished. So, she asked if I would paint the two outer edges to match the tiles.

I used a special primer, painted, then sealed with two coats of sealer.
Lori was happy with the way they turned out.
After they're installed, I might have to touch up. I'm hoping I sealed them well enough that they will hold up to the tile guy's work with the grout. Even so, it was much easier to paint them before they were installed.
I'll let you know how they turned out.
Sunday, December 15, 2013
FLYING BIRDS ON MY WEBSITE & HUNGRY BIRDS & SQUIRRELS
Well, I've been working every extra minute on my lyndabco.com website and finally!! finished. I did all of the text and color changes, but my friend helped me with the new look. For my navigation bar, she used my bird art and, as you're clicking on a link to view my work, it looks like the bird is flying. I LOVE it!!
Birds, birds, birds, I love birds! Well, maybe not doves and sparrows so much at my feeders. Doves do such big poop and sparrows come in gangs, chase everybody off of the feeders, eat everything and move on to their next attack on feeders. I know they're hungry, but they are aggressive and chase off the wonderful little chickadees, titmice, gold finches and other native birds. I do feel guilty about my attitude, but that is how I feel.
While I was on the computer, I had to keep getting up and chase squirrels off of the feeders. Charlie will start barking so I'll come out. This mama squirrel's earlier two juveniles are here and she's very pregnant again. Doesn't she know there would be more food for her if she would just stop producing babies??? Squirrels are so pretty at this time of year and I love seeing them way out in my yard. Their winter coats are very orangey and gray/brown.
I rarely see black squirrels and when I do, they're all in one location. Not far from here, I was working in a home close to a woody area and there were lots of black squirrels. That's so interesting! Maybe the gray squirrels and the black squirrels are territorial and that's why I don't see them together. A couple of months ago, I was driving down my street and saw a black something moving on the ground and I got closer and realized it was a black squirrel. It carried it's tail low, not high like the gray squirrels. It made me wonder if someone had it as a pet or the black squirrels are moving in.
Thanksgiving was so nice and Christmas is almost here. Soon, the holidays will be over with one more year behind us. I hope you and I have a good new year and dare I hope for peace in the world!
Subscribe to:
Posts (Atom)