PAINTING HUGE, BEAUTIFUL ART & MIRROR FRAMES FOR SAUNDRA'S NEW HOME
Saundra is building a new home.
These picture frames and mirror frame were truly beautiful. The problem was, they were all bright metallic gold. They looked wonderful in her home that she just sold, but she felt the bright gold would not go as well in her new home.
She asked me to age them and make them darker.
The mirror is over 6' tall.
This painting is almost that tall and a few inches taller and I am.
This one is very wide and tall.
I used my dining room table as a work surface.
See where I had already started aging on the left side. The right side is the original bright gold.
Darkening the frame made this painting even more beautiful.
She asked me to paint the off white 1" fabric mats on both paintings. That really made the colors in the paintings look better, too. This one, I painted dark brown and dry brushed metallic gold on it.
See the bright gold and the darker where I aged it?
And, see that little flat strip in the middle of the frame? As I painted it, I dabbed my brush on it to make it look more textured. You can see it better, two pictures above this one.
This one was bright gold, too.
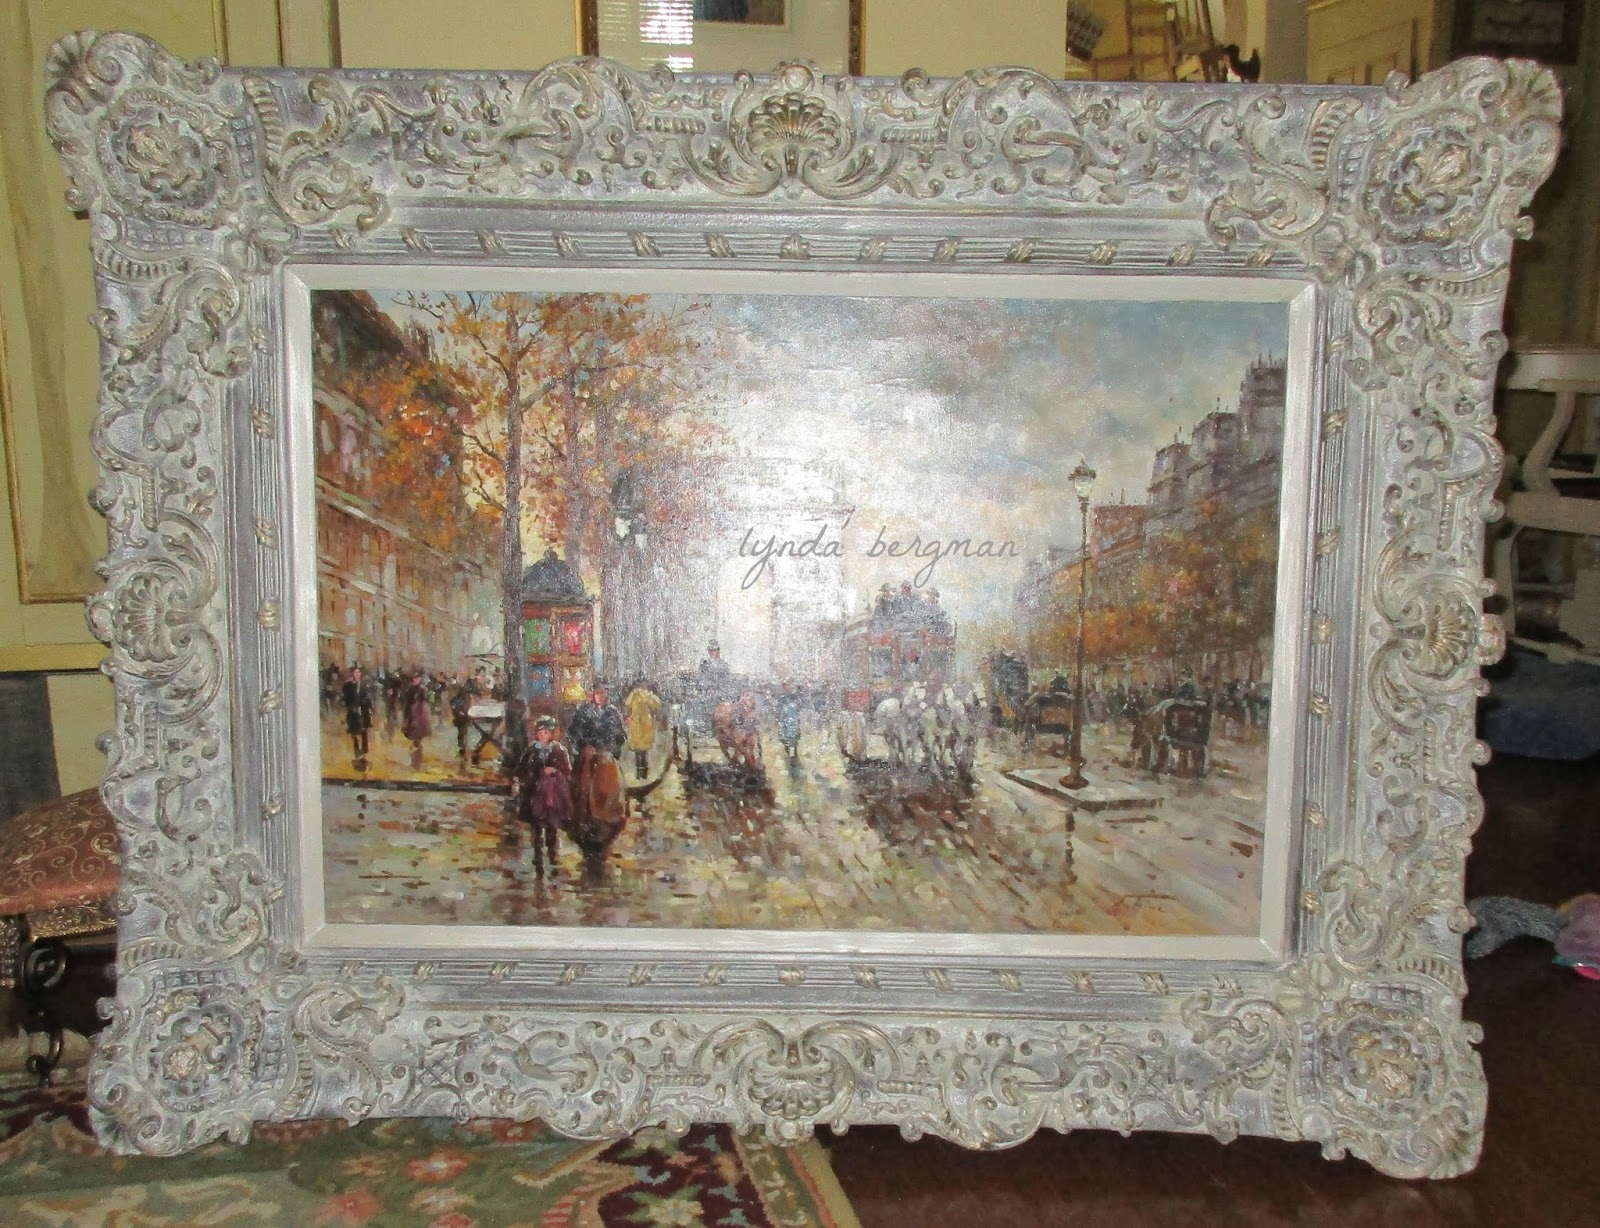
Saundra chose a gray distressed finish.
I rubbed the paint to make only a few gold highlights come through the gray.
Then, she and her husband decided they wanted more warmth and depth, so I worked on it to bring more brown and gold through the gray.
They are putting this painting on the stones over their fireplace and it will have a spotlight on
it. They want to make sure it shows up well on the color of stones they chose.
This is the original metallic gold I started with.
To get this finish, I started with a dark brown under coat.
After I worked on it a while, this is how it looks now.
After I painted this little 1" mat a soft gray white, Saundra asked me to dry brush some metallic silver on it. Oh my!! it is really beautiful!
We are all amazed at how different and beautiful the paintings and mirror look, now.
Painting your frames and mats really can make a difference in your decor.
I might be painting some powder room cabinets in her new home and
I can hardly wait to see what she has created this time.
Thank you, Saundra.
Original Post: December 5, 2015