HomeMi CasaTutorialsInteriors etcMurals and ArtworkPainted Furniture

Sunday, July 26, 2015

STEPHANIE'S NEW VENT-A-HOOD (PAINTING MY FAUX "ANTIQUE COPPER" SPECIAL FINISH)

STEPHANIE'S NEW VENT-A-HOOD (PAINTING MY FAUX "ANTIQUE COPPER" SPECIAL FINISH)

A couple of years ago, I painted for Stephanie's neighbor.
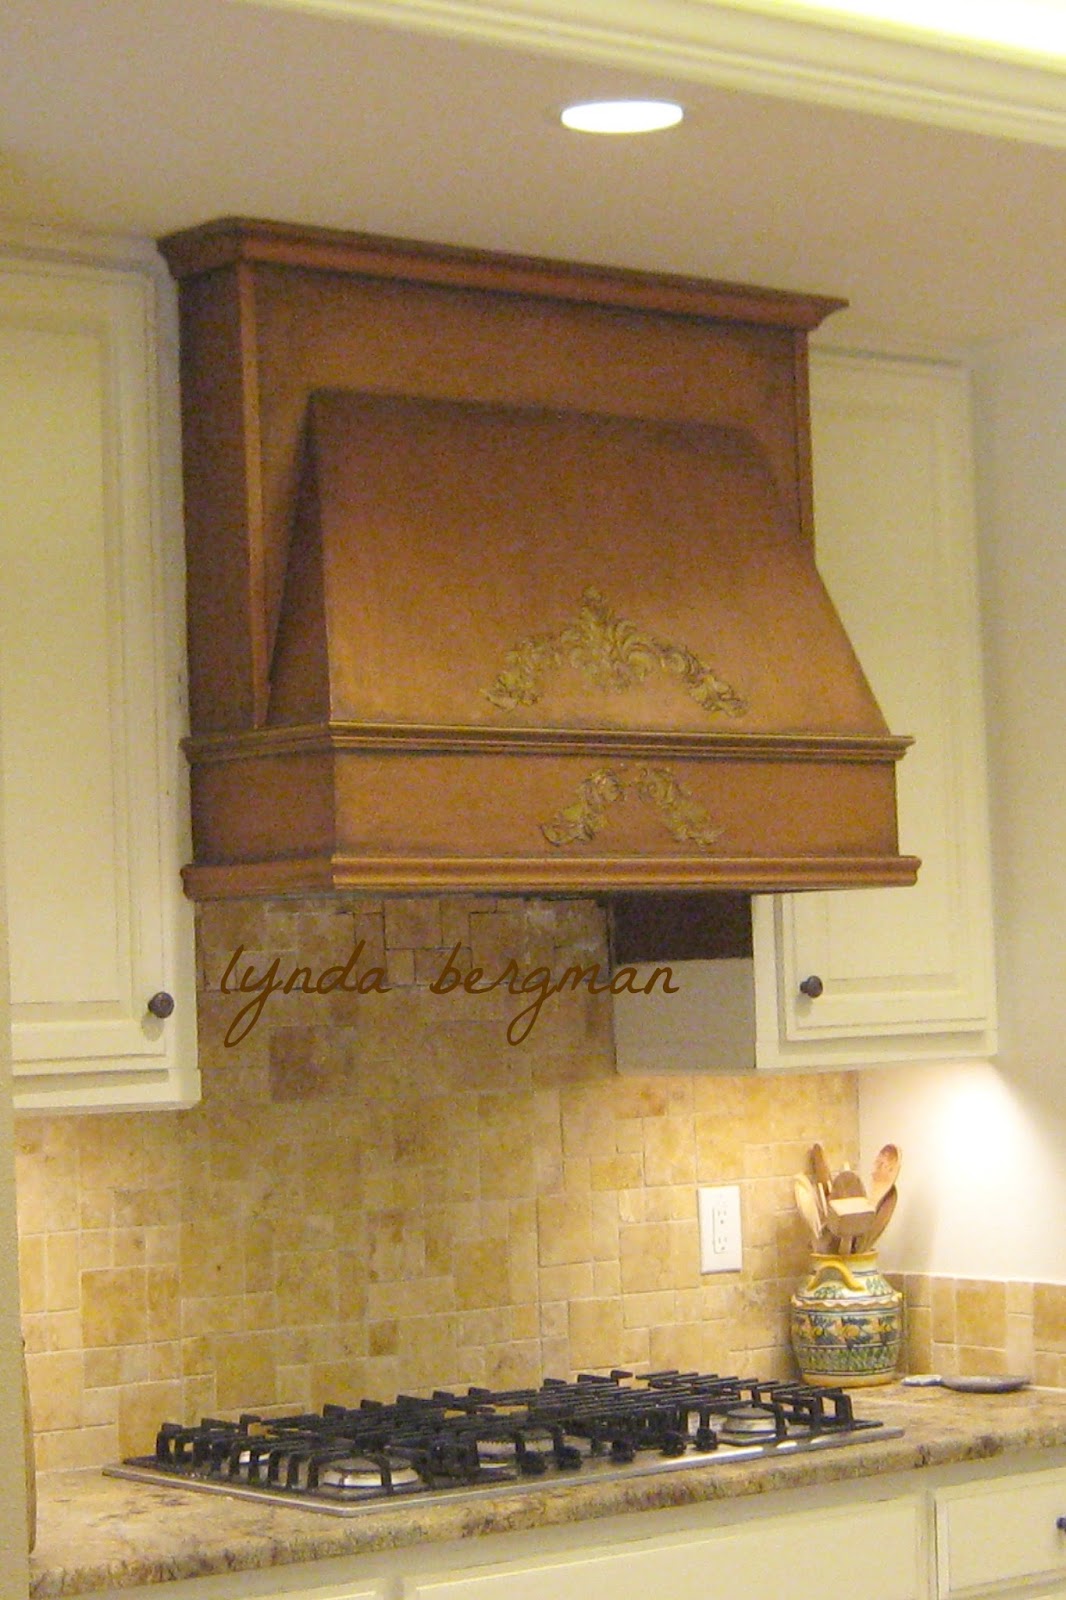
I painted my "antique copper" finish on their newly built wooden kitchen vent-a-hood.
So,  when Stephanie was remodeling her kitchen, she had a carpenter build her a wooden vent-a-hood, too.  She liked how I painted her neighbor's, so a few weeks ago she asked me to paint her vent-a-hood with my "antique copper" finish.
She has a beautiful copper chandelier in her breakfast room.  So, I mixed my metallic copper paint to be a similar color shade, but not exactly.  Sometimes the metallic copper paint is a little too orange, so I mix other  metallic colors to get what will blend in my clients' homes.  Also, she has different copper pots and accessories around her beautiful kitchen and breakfast room and it all ties in very nicely.  The back of her house has lots of glass walls, looking out over her huge yard.  I loved looking out while I was working and I could hear the hawks and other birds calling.  
Stephanie told me that they have a house in Ireland where they visit two or three times a year.  She said it's a small village and it's filled with artists.  I think she said if you're an artist, you don't have to pay taxes.  The town feels like it makes them more appealing to visitors.  She said they have puffins and they're fun to watch and very interesting.
I think I would love to live in a small village in Ireland!
Here is a side view, so you can see the shape.
Here are Molly and Louie.  Very, very sweet dogs. The gate between the two neighbor's houses is always left open so the dogs can visit back and forth.  They get treats and take naps and then go home.  I thought that was sooo cute.  And, while I was painting for Stephanie, they went next door to visit a couple of times.
Here is a link to the neighbor vent-a-hood job:
First, I showed Stephanie several stencils so she could pick out the design that she wanted on the front.  Then, I measured and embossed the design.  Next, I primed, painted the metallic copper, painted metallic gold on the embossed design and then aged it with dark paint.  You can see that I painted a couple of the trim pieces with the metallic gold, too.  If you paint with metallic paints, remember that metallic paint "reflects", so make sure you have a light source to show off your faux metal look.
This is the "before" picture.
I love how everything turned out and from the breakfast and living rooms, it really does look like it might be copper.  
That's what I was going for!
Thank you, Stephanie! 
 I really enjoyed working with you and the doggies.
~
HERE IS A LINK TO MY INSTRUCTIONAL eBOOK

Thursday, July 23, 2015

PAINTING & GLAZING A DESK FOR ELLEN'S NEW HOME OFFICE

Ellen is turning one of her bedrooms into an office.  She's in real estate.
She found this desk and asked me to paint it for her new office and told me the finish she wanted.
I love the colors she chose.  She painted the walls a gray beige.  The room wasn't put together and decorated when I left.  I think I'll get to see it later and will share it with you.
I painted the desk, stained and wiped off and sealed it with two coats of sealer.  
Three coats of sealer on the desk top.
Ellen has been updating her older home and I love everything I saw.  
She installed this sliding door to her bathroom.  She had her capet pulled up and refinished the beautiful wood flooring that was covered with the carpet.
On her stairs, she installed wood and is going to paint the risers white like her woodwork.  She added the wrought iron and she stained the rail with a gel stain.  She did a very good job.
This is good ol' Blitz. 
 They got him around Christmas and they named him after one of Santa's reindeer.
She remodeled her bathroom and I think she told me this little hanger will go in there.  I wish I had taken pictures of her new tub and mirrors that she had a carpenter build.
"before"...the new color is really nice.
For many years, I have worked in this older neighborhood and I love how Ellen has made her home "new" again.

Friday, July 17, 2015

PAINTING BIRDS & A NEST ON KAREN'S FRONT DOOR & GARAGE DOOR TO CARRIAGE HOUSE DOORS

PAINTING BIRDS & A NEST ON KAREN'S FRONT DOOR & GARAGE DOOR TO CARRIAGE HOUSE DOORS

Karen asked me to paint her front door.
  It was dark brown and she wanted me to paint it a soft turquoise or aqua.  
We picked out the color.  
A few years ago, I painted her antique front doors at her other house.  I painted birds and nests and she wanted me to paint birds and a nest on this one, too.
Here is a link to those antique doors:
This door was fun to paint.  When we chose the color for the door, I told her I wanted to paint blue plumbago on it.  I knew the blue would look beautiful on the turquoise.  And, I painted the plumbago blue color on the tiny trim around the door insets and the side glass panels on either side of the door.
Here is Mr. Birdie taking a ribbon to his nest.
And, here is Mrs. Birdie working a ribbon into her nest.
Karen's garage door is one big door that goes up when it's opened.  She wanted me to paint it to look like carriage house doors that open in the middle.  She didn't want wood grain, she just wanted them to stay white.  So I drew a dark black, brown and gray line down the middle, drew the handles and the 4 hinges and painted the little windows with the front door color.  When you're driving by, it looks like it really might be two doors.
Here is a link to the other "carriage house" doors that I painted:
There was an air vent above the garage door and one on the front of the house and she wanted me to draw and paint those to look like they might be shutters. 
 I drew and painted a shutter dog to hold the shutter in place.
I drew and painted the ivy and the butterflies. 
 A black swallowtail and a giant swallowtail butterfly on this side.
On the left side of the door, I painted the ivy and another black swallowtail butterfly.
Karen told me she wants me to come back and paint two more butterflies.  
One of them has to be a monarch.
Here are the shutter and two shutter dogs that I drew and painted on the front of the house.
After I painted all of this artwork, Karen had some major landscaping added with lots of pink, purple and blue flowers.  Also, my favorite blue plumbago.  Oh, and some pink knockout roses.  Above her front porch, she has an arbor with pink climbing roses.
Front door "before"
Getting ready to draw and paint the shutter over the garage.
~
Karen wanted her house to look like a french chateau.  
With all of her new artwork and beautiful colorful flowers it is truly beautiful.
Her home is right by the neighborhood mailbox and her neighbors keep coming by and telling her how beautiful everything is.
I know that makes her feel good.

Wednesday, July 15, 2015

PAINTING BLUE & WHITE STRIPES & MONOGRAM ON A LITTLE TABLE FOR PATTI

Patti brought this little table to me and asked me to paint blue and white stripes on it.  
She had a monogram that she wanted to paint on it for a little one in her family.
So, I painted the stripes and put one coat of sealer so it wouldn't get scratched.  Patti picked it up and took it home to paint the monogram and brought it back to me for two more coats of sealer.
It turned out so cute!!
She told me that she made this stencil from her stencil collection.  
Patti has such a good eye for what will be special and she was sooo right!
Wet Paint!
I painted the blue and then measured and painted the white stripes.
It started out with a stained wood finish.

Saturday, July 4, 2015

FIREWORKS & ANIMALS DON'T MIX ~ BE SENSITIVE & KIND

I read that in June, animal shelters put down more dogs to make room for all of the runaways on July 4th.  Fireworks frighten them so badly.  They frighten other animals and birds, too.

Wednesday, June 17, 2015

PAINTING IRENE'S NEW MEDIA ROOM & STAIRWELL

PAINTING IRENE'S NEW MEDIA ROOM & STAIRWELL

Irene was redecorating her upstairs family room and turning it into a media room.
She got beautiful new hardwood flooring and asked me to paint her walls and ceiling a light sage green.
She had this desk and bookcases built for this niche and asked me to paint them, too.
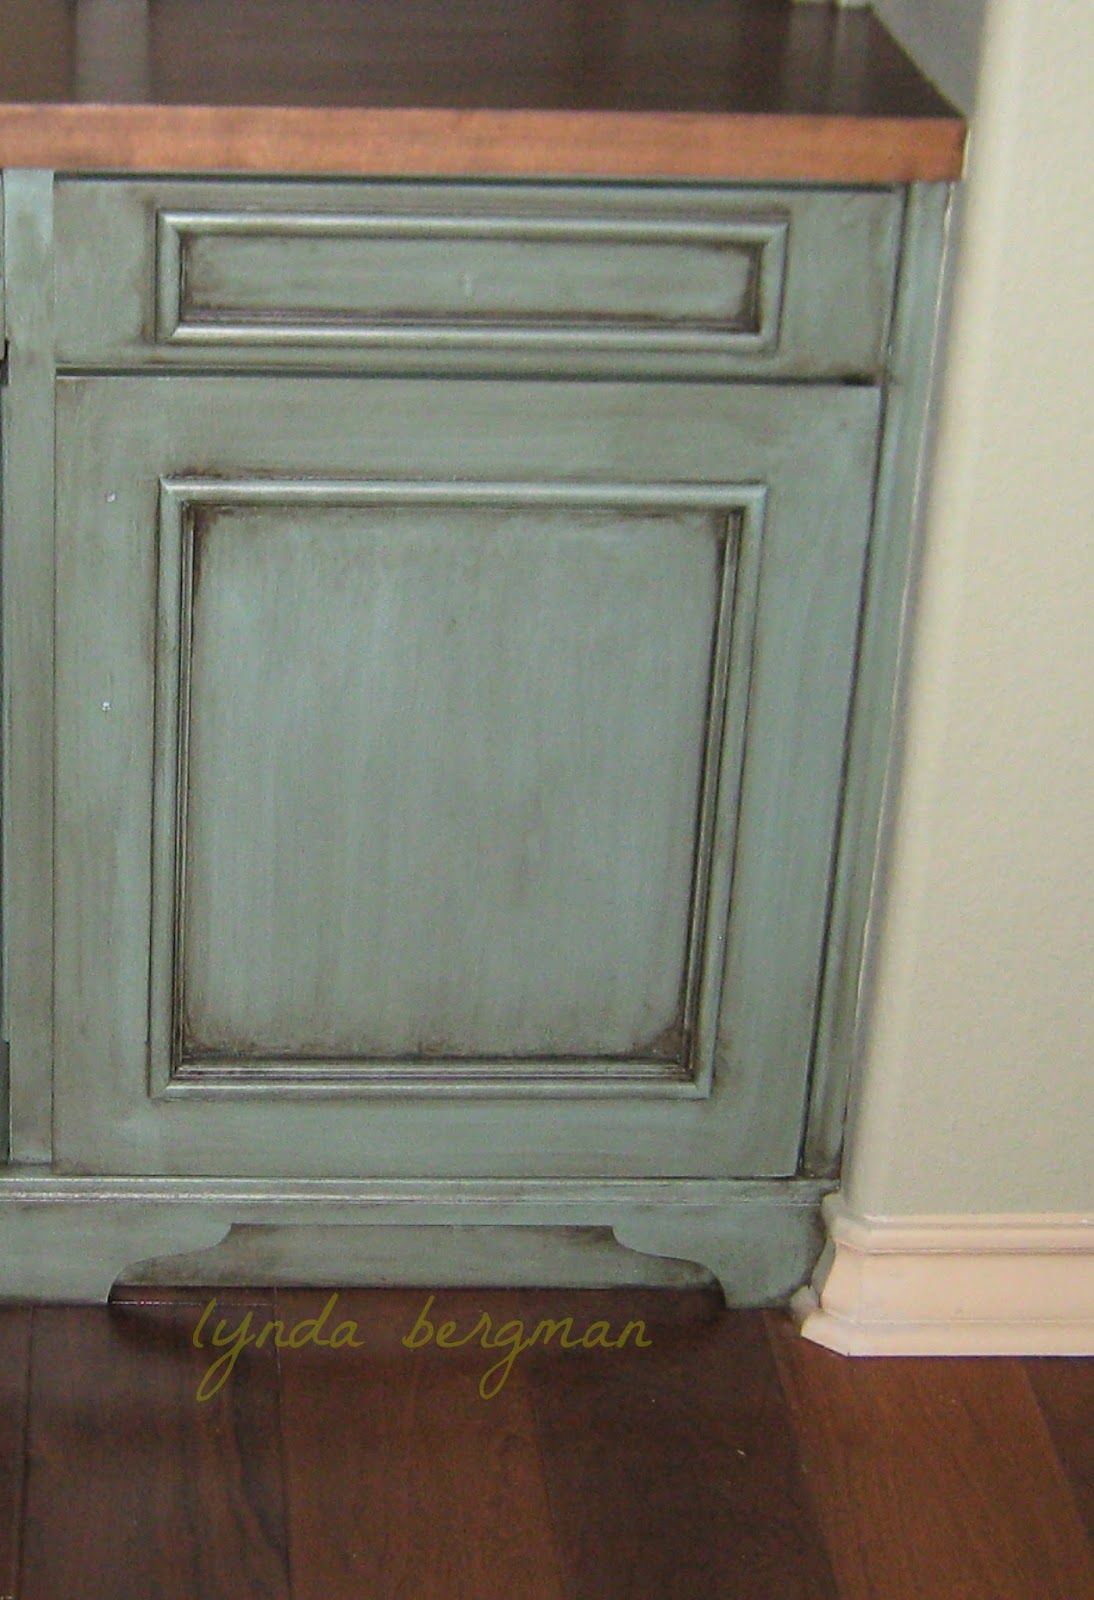
I painted a blue undercoat and applied a stain over the blue.
I love to paint this finish.
Irene said she watched the newest Cinderella movie and this color was used on the cabinets or woodwork.  She said they used this color and green.  I absolutely love this aged blue with her green sage walls.
Her decorator wanted me to stain the desk top to match her new wood flooring.
I stained the shelves, too.  The carpenter used a different kind of wood and it took the stain very differently, so I had to really work with the stain to get the shelves to match the desk top.
Remember that when you're staining new wood.  If you want it to all be the same color shade, it's best if  you use the same wood for everything.  The carpenter used cherry wood for the desk top and the shelves looked like they were plywood.  That would be fine if I were going to paint the shelves.  I stained the shelves with the same stain as the desk top and then had to add another really "red" stain and, thank goodness, it worked.
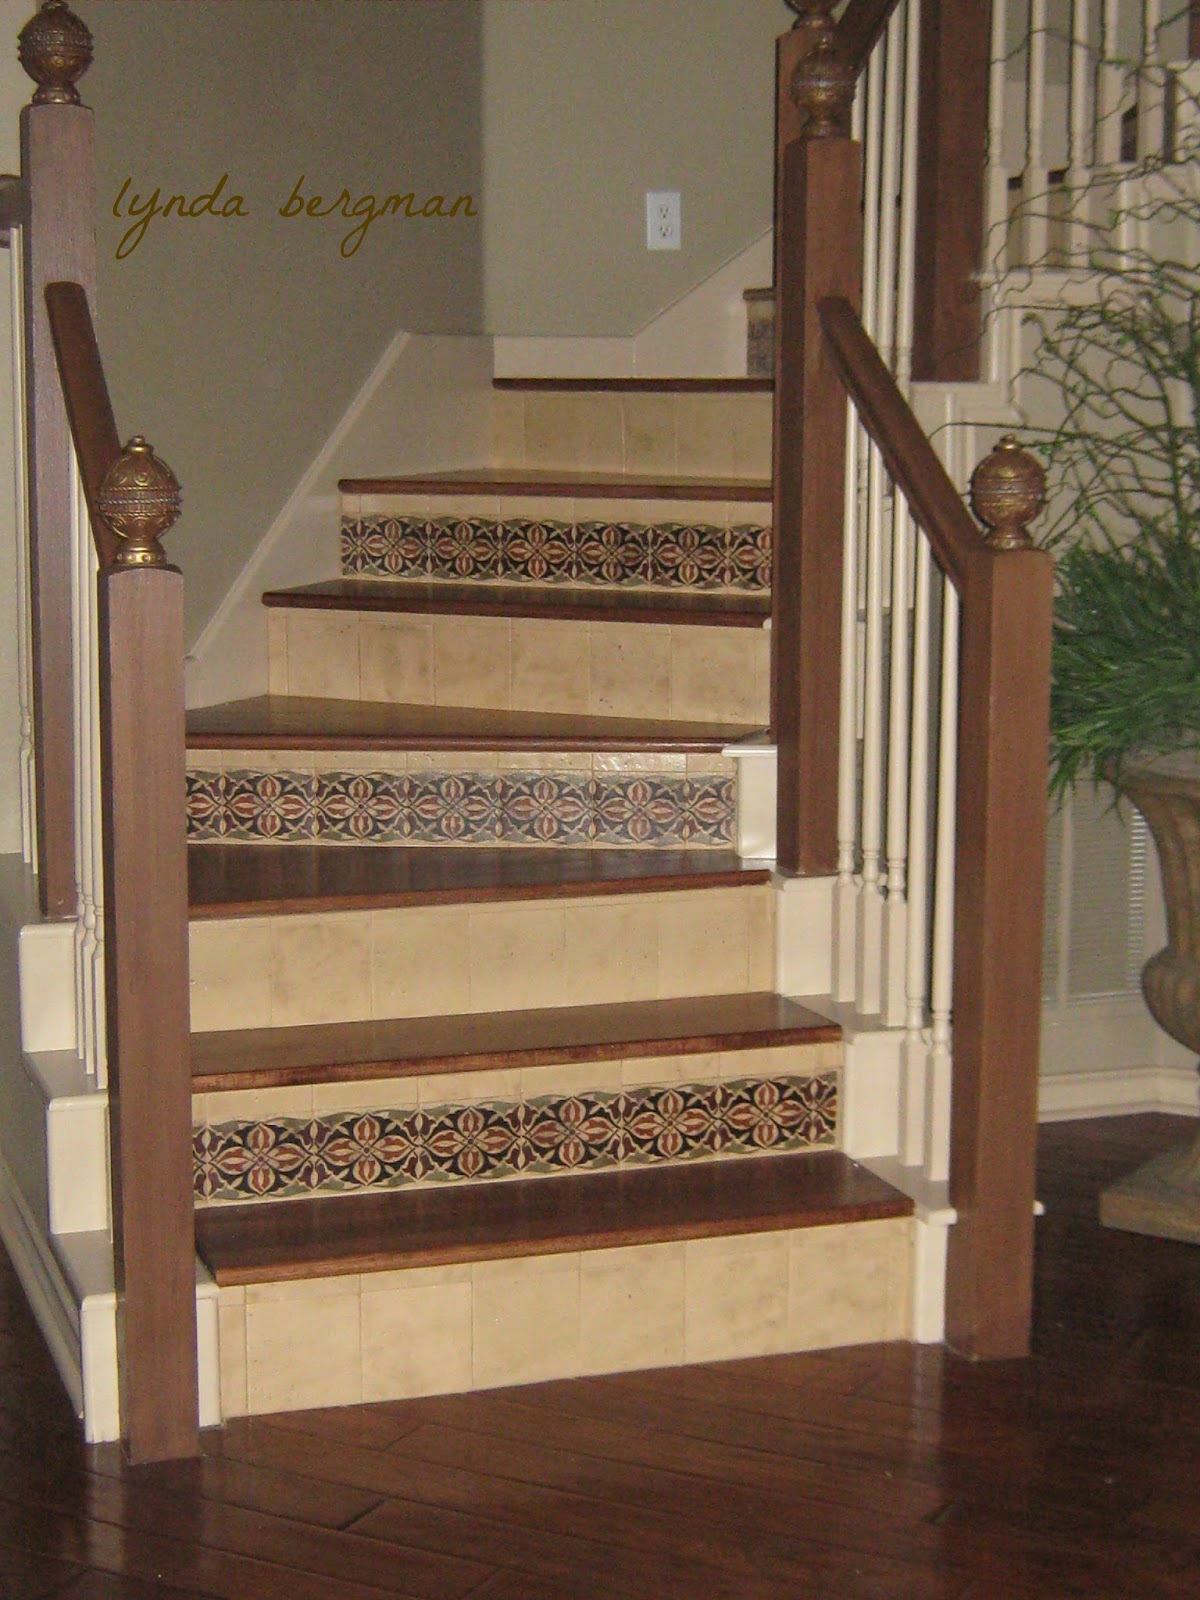
Irene was also changing her stairwell.  She was watching some old reruns of Two And A Half Men and noticed the tile on their stairwell and loved the idea of putting tile on her's.  Notice she had the tile guys install decorative tiles every other step.  It really turned out beautifully!
~
Many times my clients get decorating ideas from movies, magazines, Pinterest, etc.
It always helps me if I can see pictures of the finishes they want me to paint.
She had me paint the railing and posts.  She had the finials replaced with these decorative ones.  I painted them the rail color and accented them with metallic silver and metallic gold.  
Desk and bookcases "before".
Stairwell "before".
~
This is one of the most beautiful homes I've worked in through the years.  I've worked with Irene for many years painting her kitchen, dining room...well, I guess I've painted almost every room in her home.
I asked her if I could take a few pictures of my work in her home and she said "yes".  So, my next post I'll show you a few more pictures of Irene's beautiful home.  
My pictures can't show how elegant this home really is.  I'll share them, anyway.

Tuesday, June 9, 2015

DISTRESSING & AGING PICKLED-WHITE WASHED KITCHEN CABINETS FOR LORI'S HOME

DISTRESSING & AGING PICKLED-WHITE WASHED KITCHEN CABINETS FOR LORI'S HOME

Through the years, clients have asked if I could do something with their pickled/white washed cabinets without a  major re-do.  Once I made a sample and lightly sanded and stained and it was an unevenly stained job.  Even if you heavily sand, my experience is that the stain would still be uneven, unless you put several coats of stain and make it really dark.  
Darkly stained cabinets are really nice, too.
Lori's cabinets were not pinky like some of the pickled/white washed cabinets are.  I always liked her's in her kitchen because they were a beigy color and looked really nice to me.  Maybe it was the lighting in her kitchen.
But, Lori wanted them to be lightly distressed to go with the other cabinets that I've painted for her.  And, to go better with her kitchen island that I painted a couple of years ago.
Here is a link to
I told her that I had tried, before, and it just doesn't work.  She asked me several times and kept talking about it. 
 She said this was my idea:  I said, maybe I could lightly sand edges and a tiny bit in the middle and put a stain on it, but I wasn't sure it would look good.
She kept pushing and finally I did a little sample area and we both loved the way it looked.  So, she had me do the whole kitchen.  I lightly sanded some edges, applied the stain and then wiped it off.
Here is a picture of the island I painted to look old and distressed.
Here you can see that I didn't put the stain everywhere, just did it a little bit here and there.  Just enough to look distressed and a little bit old.
On the drawers, I stained a little more heavily around the edges.
Here, the left door has stain and the one on the right doesn't, yet.
My flash and the light from the window make the right door look too light.  That's not the way it looks in her kitchen lighting, but I wanted to show you the the difference.
I love the way this turned out.
Lori does her own decorating.  She searches and studies to figure out what would look best and then I get to interpret that in her home.
Thank you, Lori!