HomeMi CasaTutorialsInteriors etcMurals and ArtworkPainted Furniture

Wednesday, December 28, 2022

PAINTING A NAVY ACCENT WALL FOR RACHEL'S DINING ROOM ~ NAVY & WHITE WALLS

PAINTING A NAVY ACCENT WALL FOR RACHEL'S DINING ROOM ~ NAVY & WHITE WALLS 

Rachel wanted a navy wall in her dining room behind her painting.
So, I painted her a navy wall.
Rachel is very happy!
Original post 8/2/20

Wednesday, October 12, 2022

JAN DRESSLER STENCILS FOR SALE ~ NEW & USED

JAN DRESSLER STENCILS FOR SALE  ~ NEW & USED

Back in the 1990's I did a lot of stenciling and Jan Dressler stencils were some of my favorites.  Back then I purchased many of her stencils and used them in my clients' homes.  I would purchase an additional one or two of the stencils I used the most.  I love stencils and still have quite a few of Jan Dressler and other stencil designers in my collection, new and used. I am adding these stencils for sale in my Etsy shop.  
~
My Etsy Shop
~
#165 Acanthus Corner
1996
Vertical Height 16"
Horizontal Length 20"
2 Overlays
Never Been Opened
~
My Etsy Shop


Tuesday, October 11, 2022

ASHLEY'S CASTLE

HAND PAINTED CASTLE ART FOR ASHLEY

Can't believe Ashley is in her first year of college!


A long time ago, I was working in her home, painting artwork in her room.  I painted a castle and three yellow birds in the sky over her castle.  When I  arrived the next morning, she asked me to paint two more birds because she was "five".
So, I painted two more yellow birds for her.
That is Ashley waving in the window of her castle.


And, I painted a purple crepe myrtle for her.


I love painting castles!

HAVE A GREAT LIFE, ASHLEY!!

Thursday, September 22, 2022

PAINTING FURNITURE BLACK WITH METALLIC GOLD TRIM

Fifteen years ago I painted this cabinet in Pam's dining room.  I painted it black with metallic gold trim.

Recently, she called and asked if I would paint her dining room table and chairs with the same finish.

Originally the finish on her furniture was pickled oak.
The black that I painted is a little bit crackled and gently distressed.  
I painted the same metallic gold on the edge to tie in with the cabinet. 
I painted the gold on and wiped off so it would not be a solid gold.
Remember, metallic gold "reflects" light.  
The front edge is shiny from my flash and the other sheen is from the window.  If it is not reflecting from the light it will still be a color, just not so shiny.
Under the table top on the right side you can see the underneath unpainted wood.  Since this table has a smoked glass top the unpainted wood would show through the glass.  So, I will paint it black like the overall finish.  Not all of the distressing, just black so it won't be noticed.
Several times I've been asked to match the finish I painted years ago.  
Because I keep records of the paint I used and the finish it really helps. 
 I think I got it close enough that it will look good with the cabinet.  
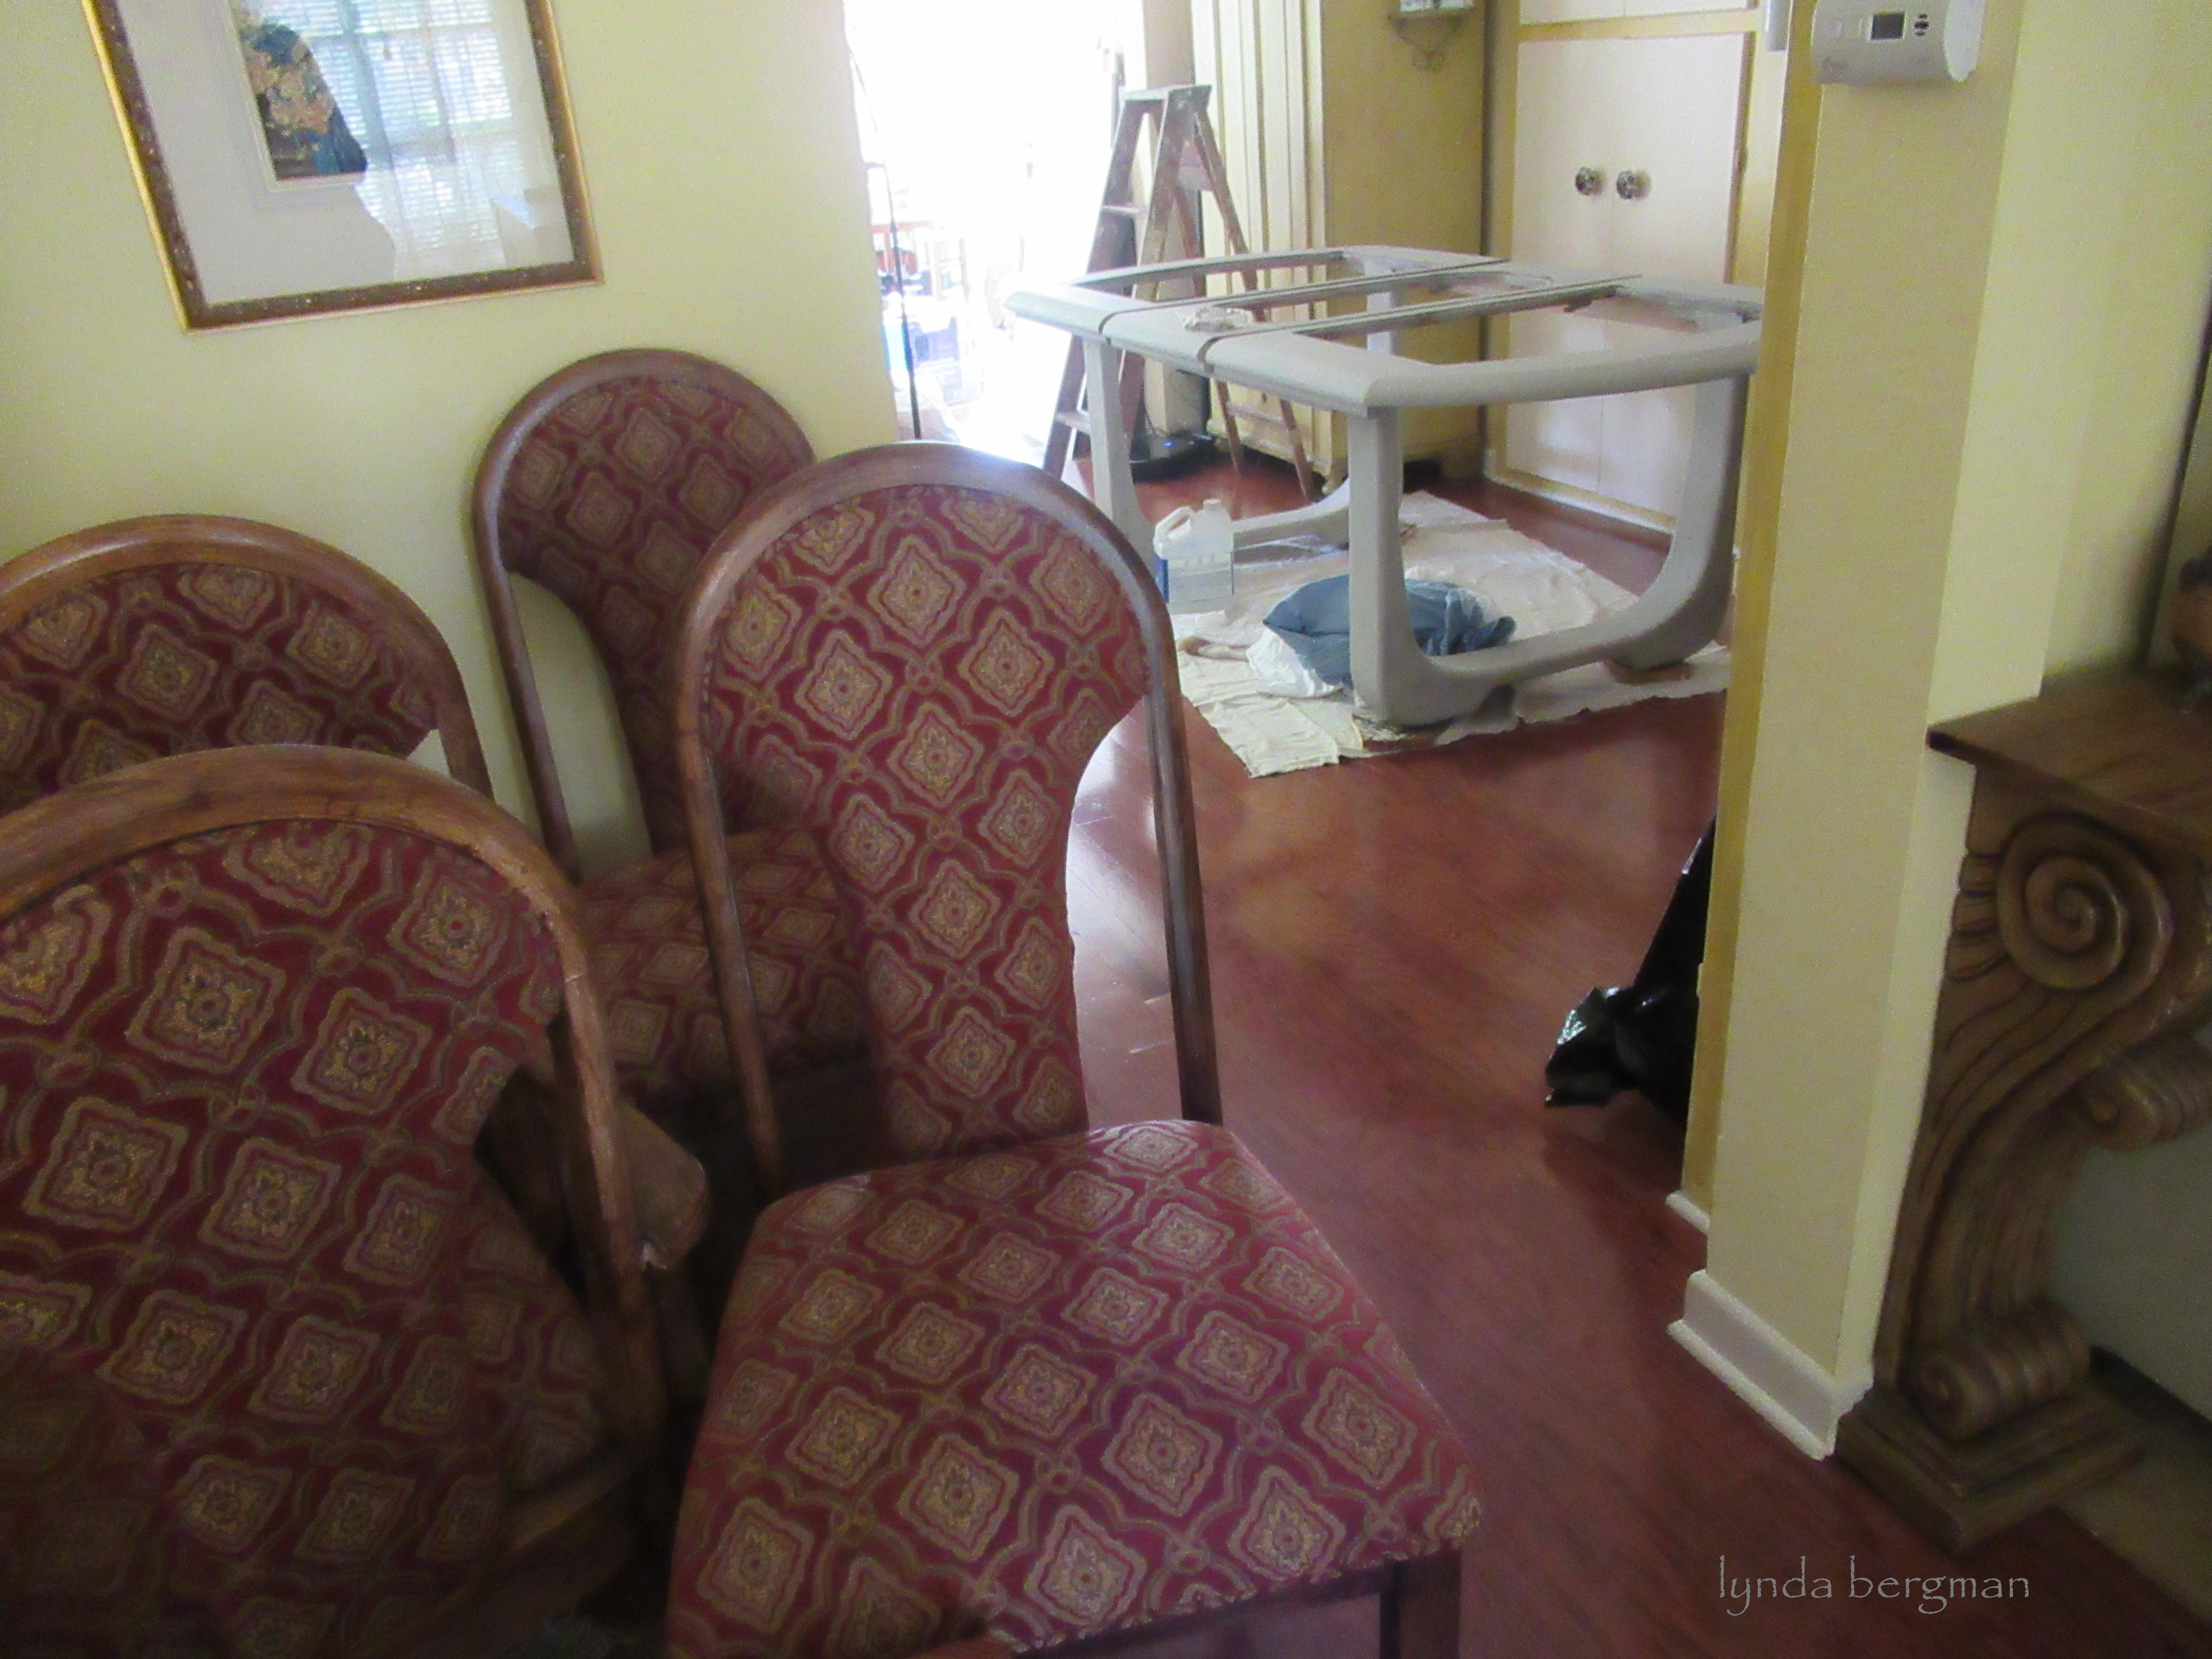
"Before"
A few years back, Pam painted a gel stain over the original pickled finish. 
It looked very nice, but she was ready to decorate with black.

Thursday, September 8, 2022

HAND PAINTING TROMPE L'OEIL ART TREE & FLOWER POTS IN A STAIRWELL

                    HAND PAINTING TROMPE L'OEIL ART TREE & FLOWER POTS IN A STAIRWELL

  My client asked me to paint something in her stairwell, maybe a tree or something.
Since her carpet was a dark luscious green I couldn't help myself!!
 I had to paint a crepe myrtle tree and pots of flowers.
I love to paint trees and flowers more than anything.  
And, I love to paint "old" pots.
The ivy is trailing out of the pot, around the tree trunk and other pots.  
Also, I painted the ivy winding up and down the stairwell.  
I painted the tree and flowers to wrap around the corner a little bit for a more authentic look.
This was a fun project!
(12/31/12)

Sunday, July 10, 2022

BACK AT JACKIE'S AGAIN, PAINTING DRAMATIC CHANGES TO HER CHAIRS, REFRIGERATOR & VENT-A-HOOD IN HER BEAUTIFUL TUSCAN KITCHEN

About three years ago Jackie asked me to paint a special finish on her kitchen cabinets.
We decided on a tuscan special finish.
Since then her kitchen has remained one of the most viewed and most popular posts on my blog.
Here is a link to that post:
JACKIE'S TUSCAN KITCHEN
Back then she knew she wanted to change out her table and chairs because they were a cherry wood finish and the red color just did not look right to her in her new kitchen.
She wanted a copper table and finally found one a couple of months ago.
She asked me to paint those red cherry wood chairs because the size was great with her new table.


Jackie wanted them black and her husband liked the finish on the kitchen island that I painted, so we decided on swiping metallic gold on the back spindles. of the chairs.


While I was there painting the chairs she asked if I could paint the stainless steel vent-a-hood a metallic copper, similar to the heavily patinaed (is that a word?) copper table.
So this is how I painted her vent-a-hood.
Remember metallics reflect, so when the light is hitting it just right it does have a metallic sheen to it.


Jackie was in the mood to change everything stainless to black and copper and asked if I could paint her stainless steel refrigerator black.  Yep! I could do that!!
So, here is her newly painted black refrigerator.
It was only three years old and she didn't want to purchase a new black one.


This is their new rescue cat, Julius.
Her daughter got him as a rescue cat and thought he looked like an orange julius.
He's a really sweet cat!
And, he kept an eye on me to make sure I was doing exactly what mom wanted.


This is her beautiful new copper and wrought iron table.
The metallic copper reflects, just not in this photo.
  

Here are the chairs, refrigerator and vent-a-hood "before" I painted them copper and black.
I didn't think Jackie's kitchen could get any more beautiful.  Here it is, though.
She was right! 
Everything really does look better now.
Thank you, Jackie, for giving me something beautiful to do, again!
(Oh, and she replaced her stainless steel oven and microwave oven to black.  The sizes were different, so I have to go back and make the exposed wood around them match the cabinet finish.  So, I will get to take more pictures in a couple of weeks and will share them with you.
I love getting to see everything put back together.
(Original post was published on 8/1/2014.)

Tuesday, June 28, 2022

PAINTING GRAY GLAZED & BROWN GLAZED CABINETS IN A GARDEN HOME ~ TOUCHING UP FIREPLACE SOOT DAMAGE WITH PAINT

PAINTING GRAY GLAZED & BROWN GLAZED CABINETS IN A GARDEN HOME ~ TOUCHING UP FIREPLACE SOOT DAMAGE WITH PAINT

My client wanted to paint and update the kitchen in his new garden home.
Actually, he was changing out everything... floors, tile, granite and paint in the whole house.
The cabinets in the baths had to be replaced, too.  A carpenter custom built them.
My client and his decorator decided to go with gray on these cabinets.
I made samples in glazed gray, glazed brown and white with gray glaze.
They chose the sample above for the kitchen and brown glazed for the bath cabinets.
This is how they look "after".
Can you believe the transformation!!
This color is dark gray with a blacky gray glaze.
It looks sooo nice, especially with the stainless steel and silver hardware.
The decorator chose the granite and back splash to go with the sample.
The walls are a beautiful gray beige.
The woodwork/trim was painted a darker gray beige.
This is the sample they chose for both baths.
Once again, the silver frame on the mirror and silver hardware look great!
(on the very left is a door frame with the darker gray beige trim paint)
A better look at the granite, back splash and silver hardware.
This is the master bath.  Not a good picture, I know!
 But, I wanted you to see the cabinets, mirrors, granite, back splash and hardware again.
Because a decorator chose all of the colors, hardware, flooring and light fixtures,
I thought it might give you some good ideas, too.
(ran out of screws.  two more handles will be added to the drawers)
The brick on the fireplace was stained with black soot about a foot above and out to the sides.
I told the decorator I could paint over it and match the bricks.  And, I did!
I brought several colors of craft paint.  Colors that were in the bricks.  It took me a little while, but I kept working with the craft paint until I finally had everything matched.
Many of the fireplaces I see have soot damage.  You can do this, too.
Feel free to message me if you have questions.
This garden home was built in the 60's.  All of the changes turned out beautifully.
The silver  light fixtures and stainless steel appliances look so good with this finish.
Glad I got to be a part of it.
(Original post was June 29, 2017)

Thursday, June 23, 2022

PAINTING A WHITE PANTRY DOOR TO AN AGED DISTRESSED FINISH & PAINTING ON GLASS FOR ANNA & DIEGO

PAINTING A WHITE PANTRY DOOR TO AN AGED DISTRESSED FINISH & PAINTING ON GLASS FOR ANNA & DIEGO

Anna and Diego have a beautiful new home.
Their pantry door was white and they asked me to paint it to make it look old.
Like the panel below, there was a panel at the top.  
They asked a carpenter to cut the panel out and prep it for a piece of glass.
They wanted me to paint a design and "EL MERCADO" on the glass.
I showed Anna some of my stencils.
 We chose from each stencil the design she wanted on the glass.  
I painted the top design first and sent a picture to Anna.  She decided that we needed to take away pieces of the bottom stencil so it wouldn't look so busy.
I used graphite paper to trace the design onto the glass.
And, used an eraser to erase the part of the design that Anna didn't want.
I used a tiny brush to paint with DecoArt black glossie paint.
Two coats of paint and sealed with a sealer for protection.
Door before I painted it.
Anna just sent this picture to me.
 She found this crystal knob and backplate at an antique store.
They want me to do something to it to make it match the door.
I will touch up the screws, too.
Thank you to Anna and Diego for a fun project!
Their kitchen cabinets have a light brown glaze that goes well with the door.
(Original post 6/24/18)

Wednesday, June 1, 2022

SIGNS OF AN ORPHANED FAWN ~ TIPS OF EARS ARE CURLED

SIGNS OF AN ORPHANED FAWN ~ TIPS OF EARS ARE CURLED

Wild Heart Ranch The ears stand back up after a few days of eating. So far after at least 10 years of using this sign with callers that if ears are straight, watch from a distance for mom and let us know, 100% of the fawns with straight ears who were NOT suffering from another issue, (dogs, flood, dead mom) were claimed by mom. They DO dehydrate before the ears curl, but this is a sure way to tell from a distance you have an orphan or if ears are straight, lets give mom a chance without spooking the fawn off its spot, potentially sending it into danger or getting it lost. I trust it and I would never deny an orphan, but nothing is a bigger fail to me than taking a baby from a healthy mom.

"Ears are straight, fawn is great. Ears are curled, fawn alone in the world." Look at the ears before picking up a fawn. It takes a few days of not eating for the ears to curl. Here's a photo of both scenarios."


Tuesday, May 24, 2022

PAINTING ARTWORK ON A HUGE CANVAS TO COVER A HEADBOARD

PAINTING ARTWORK ON A HUGE CANVAS TO COVER A HEADBOARD

My client showed me a photograph and said she had an idea for a headboard for her bed.
She had a king size bed and wanted me to paint something similar to the photo onto a huge canvas for her bedroom.  Her idea was to have the canvas attached to a large piece of plywood.
I purchased a huge piece of canvas cloth.  
Then, I couldn't figure out how in the world! I was going to paint on it.  
My neighbor is always there to figure these things out for me!  He brought over a 4'x8' piece of plywood and set it up in my studio.  I taped the canvas to it and started prepping it for painting.  I wondered what kind of trees these were.  I still don't know.
When I finished painting the canvas I had to figure out a way to get it rolled up to deliver it.  I had to be very careful.  I was afraid the paint might crack or be creased if it got folded. 
So, my neighbors, Betty and Lulu, helped me carry the large canvas out to the driveway. 
I laid drop cloths on it for a cushion protection and we rolled it up.  
That worked! and made it easy for me to carry.
When I got the canvas to my client's home she had a guy waiting to attach it to a very large piece of wood.  First, they laid and attached a lot of batting to the wood.  They wrapped the canvas around the wood and stapled it on the back side.  Then, her guy attached the wood to the wall and pushed the bed against it.  So pretty!
It looked so, so nice in my client's bedroom.  She designed this very special headboard.
I think it was a GREAT idea!!!
(Original post September 24, 2012)

Friday, March 25, 2022

DRAWING & PAINTING FAUX BRICKS FOR A TEENAGE BOY'S ROOM

DRAWING & PAINTING FAUX BRICKS FOR A TEENAGE BOY'S ROOM

Kimberly was redecorating her teenage son's room and asked me to draw and paint bricks on the wall behind his bed.
She wanted the bricks and mortar to be in the gray and black tones.
I used a grayish white for the bricks.
And, she wanted them uneven and smudgy, so that's what I did.
This is Paisley.  Beautiful little doggie.
She is one spoiled baby.  She likes to be in her mommy's arms.
Is she snubbing me!
First, I painted the mortar color on the wall as a base coat.  Then, I started painting the individual bricks.  I swiped and smudged with my brush and let some of the base coat show through.  I was going to come back with a little brush and make the grout lines a little darker and more uneven.  Then, Kimberly decided she wanted the grout to be even darker.  So, I used a dark blackie gray and with a little brush I painted the grout lines.  Also, I lightly painted a second coat of  grayish white on the bricks. 
On the internet, she found the cutest large wire bear head.  
I think she's is going to get it to hang over her son's bed.
When I paint bricks, a harlequin pattern, stones or stripes I always draw a grid on the wall.  It's just easier for me to follow.  It takes a couple of extra hours, but I have a guide to paint by.  Every other row of bricks has to be moved over and if I didn't have the grid, I know I would have it all messed up and uneven.  I know that because the very first time I ever drew a harlequin pattern, I started getting them uneven.  That's when I knew I would always have to draw a grid first.
Kimberly told me the size she wanted the bricks to be. 
 I measured at the top of the wall and drew the lines vertically.  Then she decided how wide she wanted the bricks and  I measured and drew horizontally.  
I always use my level when I'm drawing lines.
She had a painter paint my gray base coat color on all of the other walls.  They were a beige.
Monday, I'm going back to Kimberly's to paint her kitchen cabinets.  I'm eager to see if she got that wire bear head for over the bed.  If she did, I'll show it to you.
Thank you Kimberly!!
~
Here is a link to another brick wall that I painted and tutorial:
(Original post on August 2, 2015)