HomeMi CasaTutorialsInteriors etcMurals and ArtworkPainted Furniture

Tuesday, March 5, 2019

PAINTING VERONICA'S KITCHEN ISLAND & WINE CABINET TO A BLACK DISTRESSED FINISH & HER NEW BLACK & COPPER STOVE VENT HOOD

PAINTING VERONICA'S KITCHEN ISLAND & WINE CABINET TO A BLACK DISTRESSED FINISH & HER NEW BLACK & COPPER STOVE VENT HOOD

Veronica has a very large kitchen that is open to a very large great room.
As beautiful as it was, she thought there was too much brown and beige. 
She thought some black accents would break up all of that brown and beige.
She asked me to paint her kitchen island and her wall wine cabinet.  
I painted some samples for her and this is the one she chose.
Painted black and distressed the edges.

UPDATE:  VERONICA'S NEW STOVE VENT HOOD

Isn't that beautiful!! 
I got to go back to Veronica's to paint some new cornices that were built for her kitchen.  These pictures are her new kitchen design job completed.  
Her wine cabinet after I painted it.  Wow!  Love the dramatic lighting.  (I lightly distressed this cabinet, but it doesn't show in this picture.)
These are the wood cornices that were built for her kitchen windows.  I painted them the same black as the island and wine cabinet.  Then I painted metallic copper in the middle.  After the metallic copper paint dried the carpenter attached custom wrought iron pieces that fit over the copper.

BACK TO THE ORIGINAL POST:
Her wine cabinet was open and did not have doors.  She had new doors made and added glass to them.  Also, she added lights inside so you could see the wine.
I painted the inside of the wine cabinet black and more distressed than the outside.
This is Joe Henry working on her new tile.  He is a contractor and has his own company.  He does beautiful work!
Her vent-a-hood was very large and stained wood like the rest of her cabinets.  She asked me to paint some black on it to see what that would look like.  But, she had her heart set on a huge round black metal one with copper bands.  So she said she would just wait for that to be ordered.  She even invited me to come back and take pictures!  That, I will certainly do and share the pictures with you.
There was a lot of construction, so lots of dust.  See the orbs?
I really enjoyed working with Veronica.
Maybe I'll get to work with her again.

(Repost from December 3, 2014)

Friday, February 8, 2019

HAND PAINTING ARTWORK ~ A TREE, A BIRD'S NEST & BLUE SKY FOR MADDIE'S ROOM

    HAND PAINTING ARTWORK ~ A TREE, A BIRD'S NEST & BLUE SKY FOR MADDIE'S ROOM

     This is the second time I painted Maddie's bedroom.  The first time was just before she was born.  This time I think she was five.  She loved pink!  She and her mom knew the colors and artwork they wanted and how they wanted to decorate.  So, I painted her walls pink.  In one corner of her room I painted a large pink crepe myrtle tree and a bird's nest in the tree.
I painted her ceiling blue with clouds and pink sparkly birds.
   
      Over her bed I painted an arch and a big sparkly bow. 
     I painted a smaller arch over her dresser and painted sparkles on all of the artwork.
     This room was sooo cute and happy!  But, a few years later I had to paint over everything for her next, big girl room.
     Through the years I've had to paint over a lot of my artwork.  Thank goodness I take lots of pictures.  It's always fun to go back and look at older pictures.
(This is a repost from February 10, 2013)

Saturday, January 19, 2019

HAND PAINTING STRIPES ON FURNITURE

HAND PAINTING STRIPES ON FURNITURE

For me, the hardest thing about painting stripes on furniture is drawing the stripes.  I always use a ruler and a soft pencil so unused lines can be erased or painted over.  I do not use tape because I want the stripes to look hand painted and not perfect.  I decide the width of the stripes on the front, top and sides.  The width of the stripes can vary.  I use the edges of the furniture for guidelines.  A level is not useful to use on furniture because your floor might be uneven or the furniture not perfectly in line.
This chest was going in a nursery for a baby girl  My client wanted stripes, ribbons and flowers and told me the colors she wanted on the dresser to match her nursery decor.  The base coat is white.  I drew the stripes and painted with one coat of pink.  Then, painted the ribbons and flowers.  When I'm finished with a piece I always seal with two coats of a dull or satin sealer and a third coat on the top flat surface.
For this sofa table, I painted a tan base coat.  Then, painted a denim blue on top of the tan, dry brushing so the tan would show through.  Next, I drew and painted the turquoise stripes, dry brushing so the denim blue would shadow through.  You can see I lightly sanded the edges, then sealed with two coats of clear sealer.  On the table top I painted a third coat of clear sealer for extra protection.
My client asked me to paint black stripes on her antique cabinet.
When I purchased this pine armoire they told me it was from Stratford, England.  The outside had been waxed, but the inside looked very old and had old blue shelf paper on the shelves.  I didn't remove the shelf paper.  On the outside I painted over the pine with a greenie beige color.  Next, I painted the tree then, drew and painted the stripes.  I painted one coat of black and let the beige shadow through.  A metallic gold paint was just the right touch for the black and beige colors.  Then, two coats of clear sealer.

Monday, January 14, 2019

PAINTING BARBRA & FELIX'S KITCHEN VENT HOOD TO AN "ANTIQUE COPPER" FAUX FINISH

PAINTING BARBRA & FELIX'S KITCHEN VENT HOOD TO AN "ANTIQUE COPPER" FAUX FINISH
Barbra and Felix were doing some re-decorating in their beautiful home.  They saw pictures of my "antique copper" faux finish and asked me to paint their kitchen vent hood.
The "antique copper" finish looks so nice with their dark cabinets and granite.
They replaced the three light fixtures in the same color tones.
To emboss the scrollie designs I used modeling paste and stencils.
Felix added the decorative wood trim.  It really made a difference with the new finish.
Last picture in this post you can see there were no wood trim pieces before.
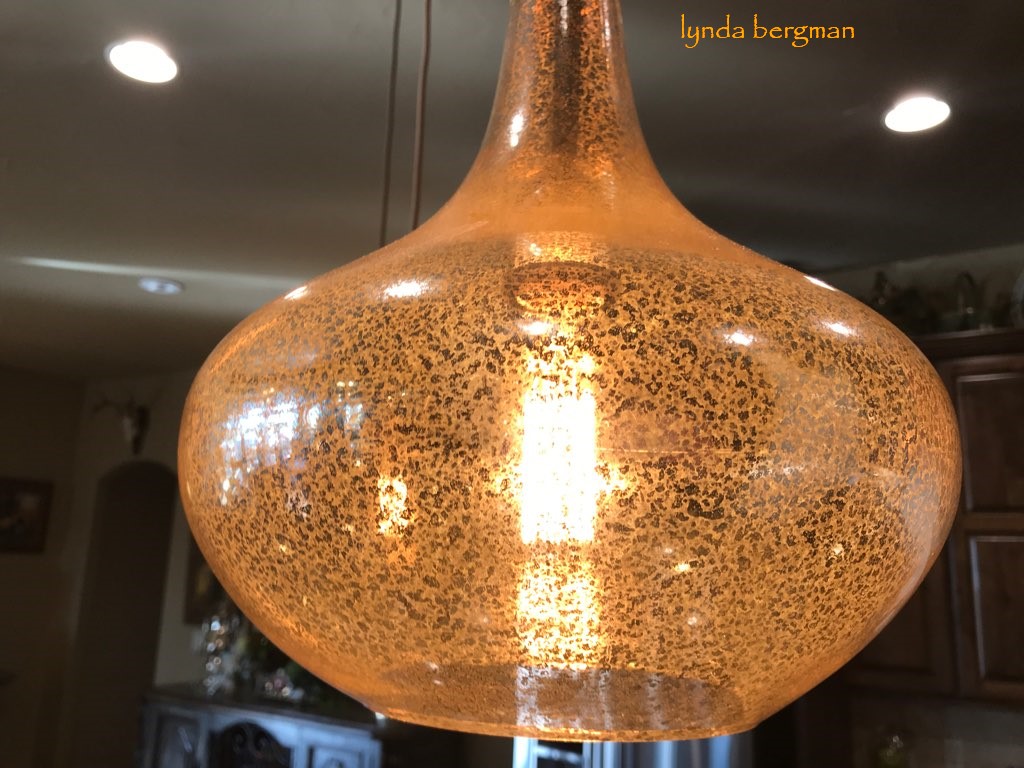
These new mercury glass globes are so beautiful!
Barbra found these unique chairs already covered with the leopard print.  They were stained brown and I suggested painting them black.  She liked the idea so, Felix painted them black. They love the new look.  This room looks out over the hill country.  Very, very beautiful view!
The warm copper tones are perfect for Barbra's kitchen.
Getting started.
Primed vent hood, used paste and stencils to create the design.
Her vent hood "before".  Light fixtures "before".  No decorative trim pieces.
Barbra and Felix were so, so nice to work with.
Thank you!

Thursday, January 3, 2019

PAINTING KITCHEN CABINETS, MANTEL & NICHE IN LIZ & RICK'S NEW HOME.

PAINTING KITCHEN CABINETS, MANTEL & NICHE IN LIZ & RICK'S NEW HOME

Liz and Rick were moving into a new home and asked me to do some painting for them.
Their color theme was going to be shades of gray throughout the house.
This mantel surround was painted white with red bricks around the fireplace opening.  
They replaced the brick with this gray and rust tile.  They asked me to paint the mantel to match the colors in the new tile.  I used grays, rust and beige colored paint.  For the top part of the mantel they asked me to paint it a darker brown to match some of their new furniture. 
You can see a picture of the mantel "before" at the bottom of this post.
They installed same tile in entry niche and asked me to paint niche walls with the same colors as the mantel.  Rick loved the way you could see the niche and mantel from the front door.
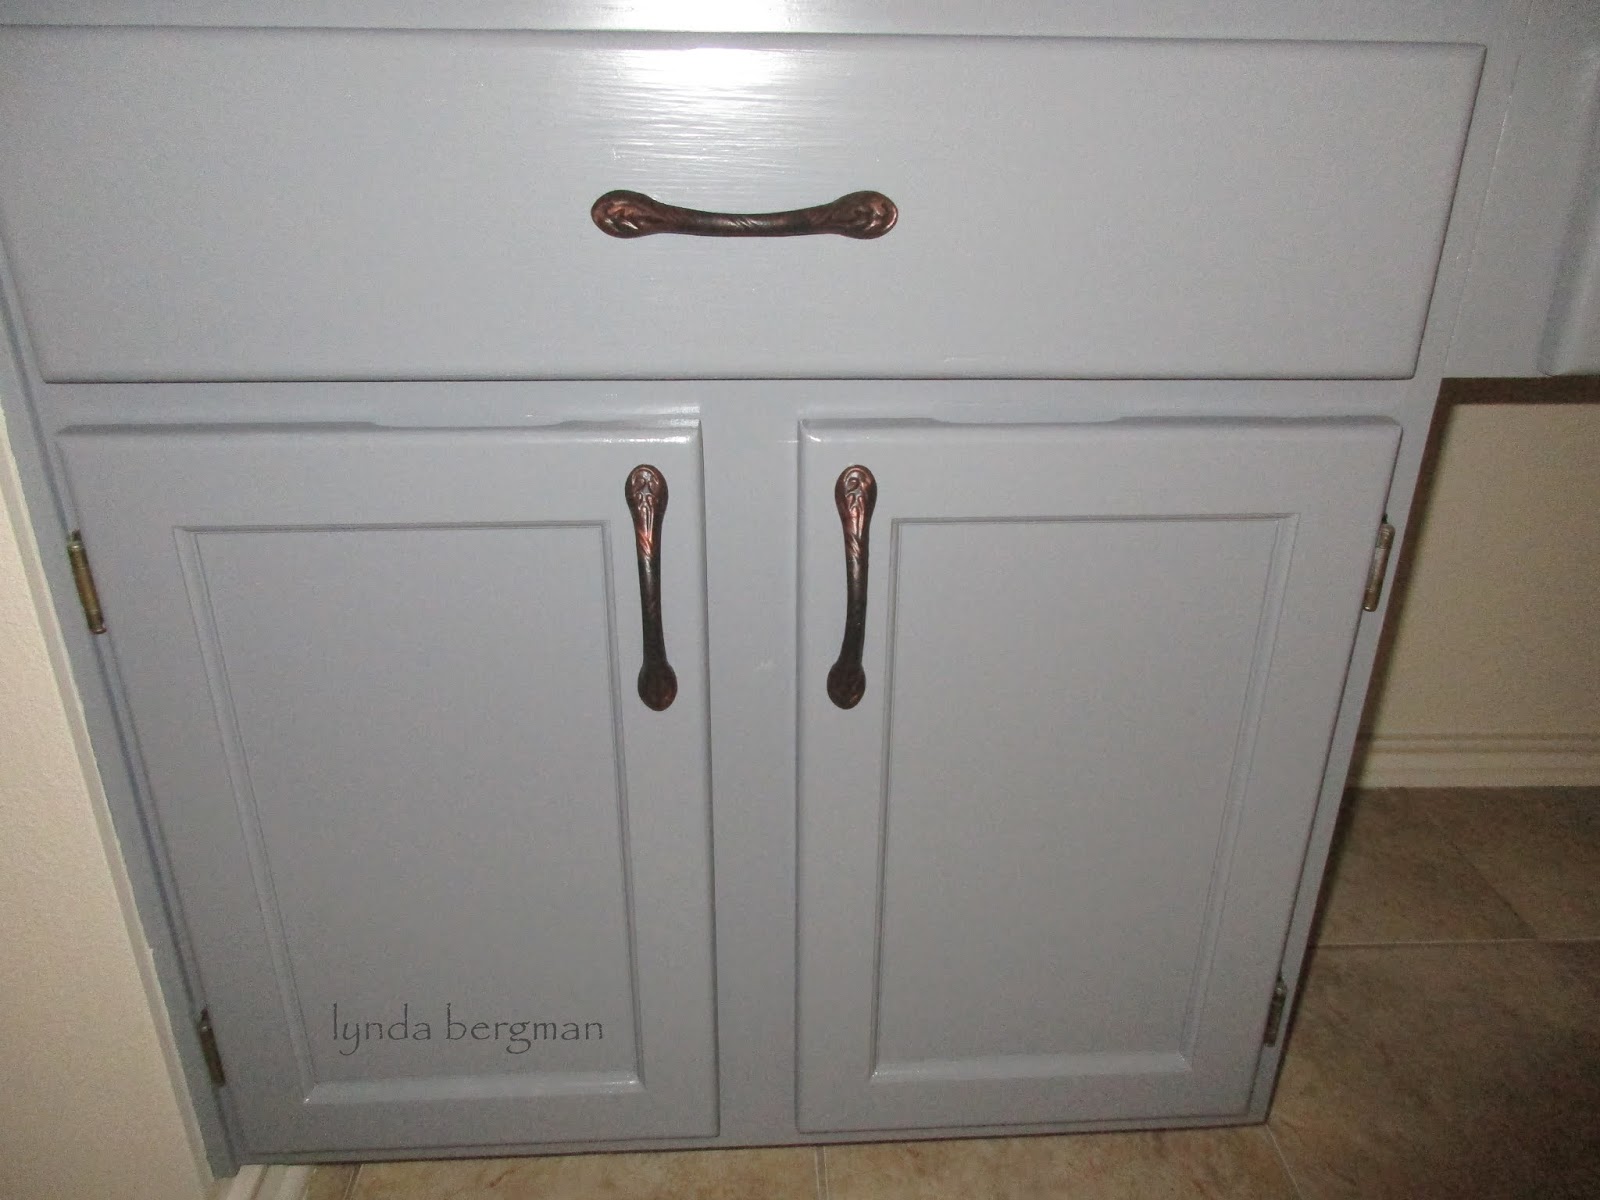
Their kitchen cabinets were tan stained oak and asked me to paint them a medium gray that their decorator picked out.  Don't you LOVE those new handles!  I really like their decorator!
These new light fixtures look so good with the gray cabinets.
And, look really good with the new black handles.
They asked me to paint the cabinets in both bathrooms the same gray color.
 The baths did not have handles on the doors and drawers.  The decorator asked me to paint the old kitchen handles and knobs to match the existing towel racks in the baths.
They used to be a brass color.  The carpenter drilled the holes.
The light fixtures were replaced in both baths.  In this picture you see the old fixtures.
Mantel "before".
Kitchen cabinets "before".
The walls used to be that dark tan and were painted a lighter gray/beige.
Thank you Liz and Rick!

Wednesday, January 2, 2019

TOUCHING UP PAINT COLORS IN A SUNFLOWER PAINTING FOR A LAKE HOUSE

TOUCHING UP PAINT COLORS IN A SUNFLOWER PAINTING FOR A LAKE HOUSE

Several times through the years clients have asked me to change specific colors in a painting.
I have been asked to paint a boat a different color, clothing, backgrounds, more green in a tree, etc.  Once I was asked to change a hair do.  
My client found this sunflower painting and wanted to hang it in a bedroom at her lake house.
It had a purple background which didn't match her bedroom colors.
She asked me to paint the background blue.
Using craft paints I painted blue, blended with some white.
I lightly touched up some of the leaves and sunflower petals, too.
The purple was nice, but blue was better for her bedroom decor.
You can change colors in your paintings, too.

Monday, December 31, 2018

ROBIN & JAVI MOVED INTO THEIR AMAZING NEW DREAM HOME

ROBIN & JAVI MOVED INTO THEIR AMAZING NEW DREAM HOME

Robin had just moved into her new home when I took these pictures.
I know she still had a lot more decorating to do, but I wanted to show you this beautiful home.
Several months ago, I painted and distressed this kitchen island.
Robin chose this color and wanted me to paint it very old and distressed.
 I love how she designed the bench on the back of the island.
She designed and ordered two long tables with copper tops.
She ordered two so there would be a separation in the middle to get to the long bench.
This is my favorite room in Robin's new home.  It is a huge laundry and craft room.
 The walls are lined with upper and lower cabinets.  
  The floor tiles are, actually, blue and white  They look gray in these pictures.  
    A few years back, Robin asked me to paint black and distress these shutters for her daughter's room in her other home.  They look really nice in her new home, too.
Wet bar.
This is a very long hallway to the original smaller home.  They remodeled this casita for their guests.  Those doors at the end of the hall were the original doors for the original home.
Thank you Robin and Javi for my small part in your beautiful new home.
~
LINKS TO:
PAINTING DISTRESSED FINISHES IN ROBIN & JAVI'S NEW HOME
ANTIQUE DOORS FOR ROBIN & JAVI'S NEW HOME