HomeMi CasaTutorialsInteriors etcMurals and ArtworkPainted Furniture

Tuesday, December 5, 2017

PAINTING DARKLY STAINED KITCHEN CABINETS TO AN OFF WHITE GLAZED FINISH FOR TRACY & NICK

PAINTING DARKLY STAINED KITCHEN CABINETS TO AN OFF WHITE GLAZED FINISH FOR TRACY & NICK

Tracy and Nick's kitchen cabinets were very, very darkly stained.  The cabinets had a beautiful finish on them, but made the kitchen and surrounding area very dark.  They had lived with the dark kitchen for several years and decided they wanted a change.  
So, their original builder called and asked me to paint and glaze all the cabinets in the kitchen, wet bar area and butler's pantry.  There were a lot of cabinets to be painted!
It was amazing how much lighter everything looked.
They thought the lighter paint made the kitchen look much larger.
They added dark knobs and handles.  The contrast to the light cabinets was beautiful!
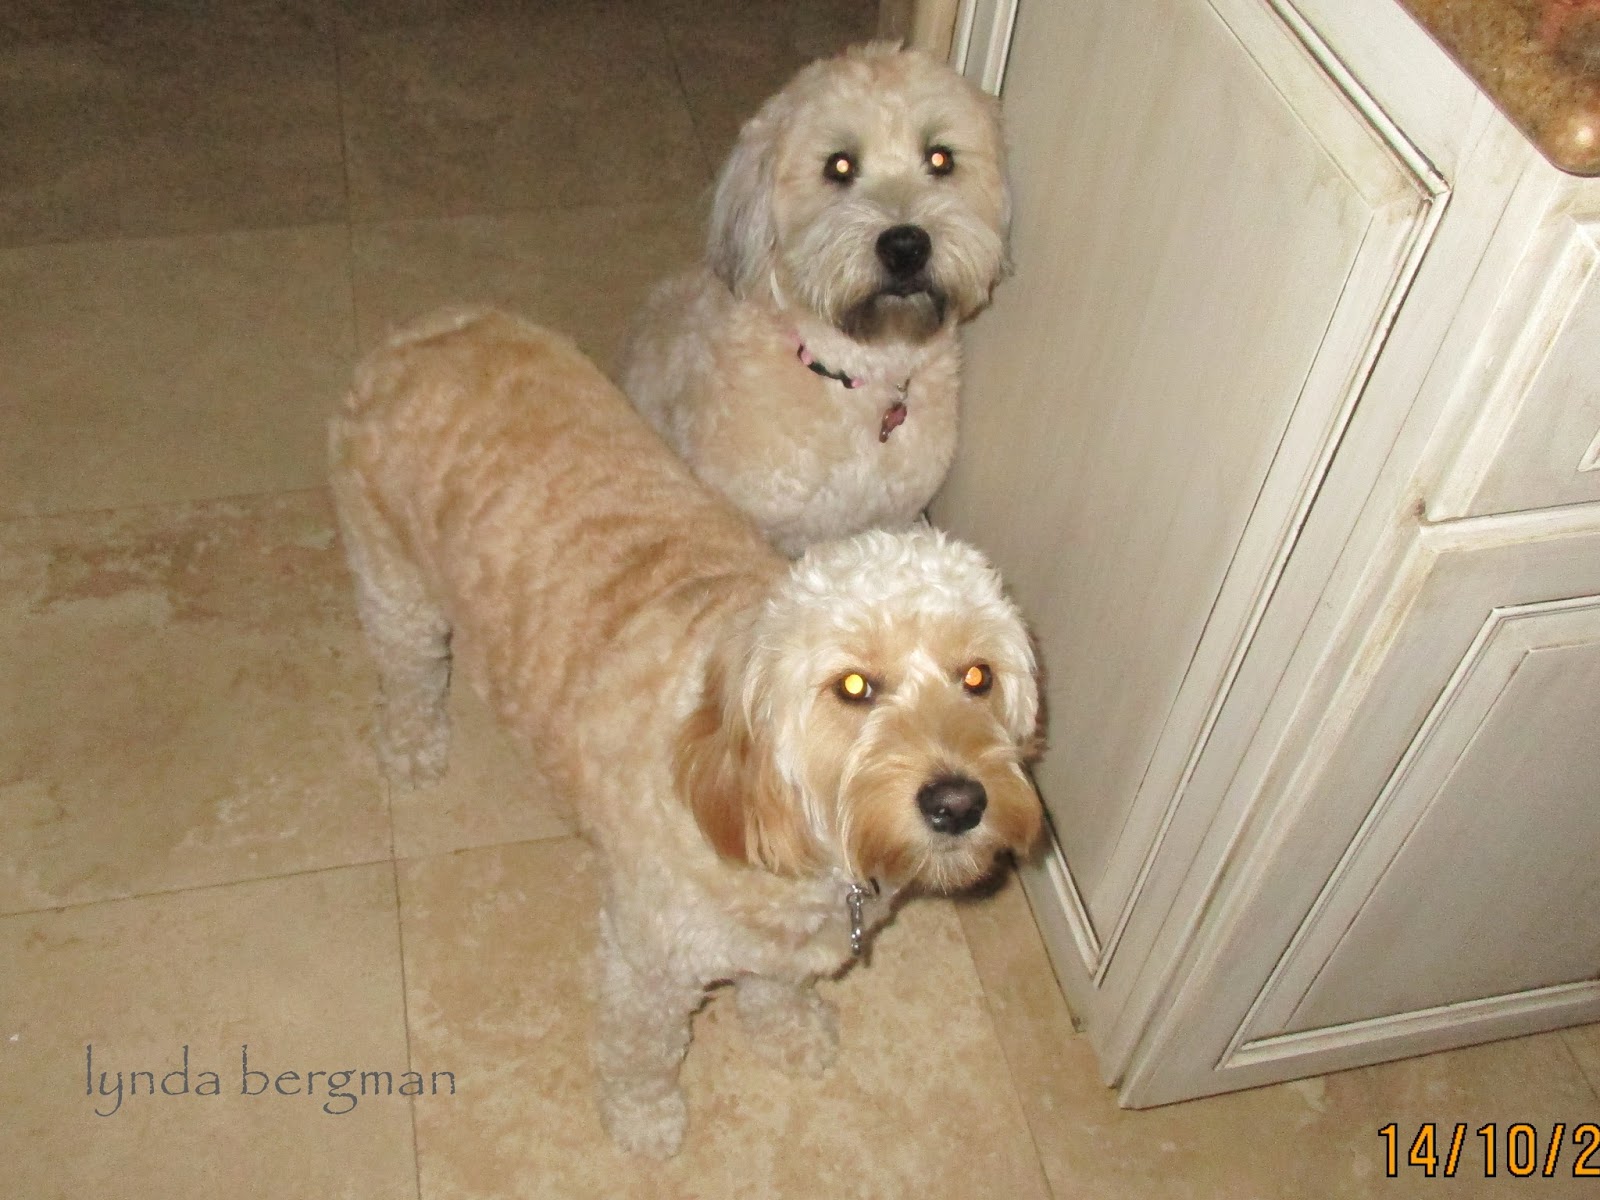
Here are Bailey and Winnie.  They are the sweetest dogs.
They love company and LOVE greeting you.
I've never been greeted so joyfully :)
Kitchen cabinets "before".
Nick and Tracy were very happy with their new kitchen.
~
VISIT MY NEW
LYNDA BERGMAN DIY BLOG

Monday, September 4, 2017

DRAWING & PAINTING TROMPE L'OEIL WINDOW & SKY ARTWORK ABOVE PATIO DOORS

DRAWING & PAINTING TROMPE L'OEIL WINDOW & SKY ARTWORK ABOVE PATIO DOORS 

Years ago, before I finally started using a digital camera I took lots of pictures of my work and had the "film developed".  I bet there are some people who don't know what that means.
Looking through those pictures I'm finding work I want to share with you.
In her living room, my client had very high walls and a big empty space above her doors that went out to her patio.  She asked me to come by and suggest something to go on that wall.  She asked what I thought about some design with scrolling.  But, seeing the outside I immediately saw a window with a sky and trees.  I suggested that to her and she loved the idea.
It was very easy to draw and paint.  I think you could do it, too.
~
TUTORIAL
First I drew the frame that would frame the sky.  I made it 4" or 5" wide.  You can decide how wide you want your frame to be and paint it any color you want.  I painted it the same white as her doors and woodwork/trim.  Use craft paints raw umber or some darker browny gray for shadowing around the edges.  In your color tray water down the paint just a little bit so it will flow more easily as you paint.  Painting that thin shadow will make it look more 3 dimensional.  For shadow reference, look around the room at the shadows on other trim.  Next, with my brush I smudged and swiped blue and white (like faux painting) and made it look like a sky with clouds.  Draw you some birds.  You can make copies or draw them on paper and trace the birds on the wall, then paint them.  Decoupage would be ok, too, for the birds.  For the trees I like to draw the branches first with a pencil.  I draw lines where I want them to be.  Paint over them with raw umber or whatever shade of brown or gray brown that you want.  Then, draw leaves or use a small paint brush and dot, dot, dot with green.  You can also draw any size or shape of leaves you want.  At first you might not be happy with your artwork, but wait a while and let your family and friends see it.  After a while I bet you will be very happy with yourself.  Have fun!!
~
VISIT MY 
STILL WORKING ON IT ~ ADDING MORE & MORE TUTORIALS
VISIT AGAIN, SOON

Sunday, August 27, 2017

HAND PAINTING ARTWORK ON A KID'S PLAY TABLE & TRAIN TRACK ARTWORK PLAY TABLE & TUTORIAL

HAND PAINTING ARTWORK ON A KID'S PLAY TABLE & TRAIN TRACK ARTWORK PLAY TABLE & TUTORIAL

My client had this little table that she kept for her grandchildren in her playroom.
The finish was a lightly stained wood.
She asked me to paint it and this is how it turned out.
I love the bright colors!
Because her grandson loved trains, she asked me to paint this little table for his room at home.
~
TUTORIAL

I used craft paint for the artwork and sealed with several coats of clear sealer.
If you don't have or can't find a table just the right size, you can build one.  It's not that hard.
You can build it any size you want and legs can be shorter or taller.
These tables were fun to paint.  I bet your children would love painting the artwork.
Remember to seal really well so it won't get scratched. 
 If it does get scratched you can touch it up and seal it again.
Have Fun!
~
VISIT MY
LYNDA BERGMAN DIY BLOG
STILL WORKING ON IT ~ ADDING MORE & MORE TUTORIALS
VISIT AGAIN, SOON

Wednesday, August 16, 2017

VISIT MY NEW BLOG ~ STILL WORKING ON IT

VISIT MY NEW BLOG ~ STILL WORKING ON IT

I'm building a new blog.
On my decorative artisan blog my tutorials get lost in all of the other posts.
So, this new blog will be a HOW-TO DIY blog.
I will continue to post on my Decorative Artisan blog, too.
It will take me a while to search all of my tutorials and move them to this DIY blog.
Here it is for now:
Still building.
Thank you for your visits!

Tuesday, July 25, 2017

PAINTING A VINTAGE MANTEL TO A BLACK DISTRESSED FINISH & TUTORIAL

PAINTING A VINTAGE MANTEL TO A BLACK DISTRESSED FINISH & TUTORIAL

Recently, I found this vintage mantel.  It was from the 1960's and still in good shape. 
It was stained brown, only a few scratches and perfect for a new paint finish.
I always start with an oil based bonding primer.
I painted a brown undercoat so when I distressed the black it would look like wood.
Painted a coat of black paint.
Then, two coats of a low sheen sealer.
This could be a fireplace mantel,
 a nice headboard or
 a fancy shelf.
(this picture is before I sealed it with the clear coat low sheen) 

Wednesday, July 12, 2017

PAINTING AN ANTIQUE PIANO FOR JESSIE & SAM ~ TUTORIAL

PAINTING AN ANTIQUE PIANO FOR JESSIE & SAM ~ TUTORIAL

Sam was searching for a piano to surprise Jessie on her birthday.
He found this beautiful antique piano.  The owner told him it would be $2,000.  So, Sam kept looking for that special gift for Jessie.  After a while the owner couldn't sell it, so they called Sam and told him if he would come get it there would be no charge!
 Oh my goodness!!  No charge!!
This is wonderful, playful Henry.  Such a good doggie.
Jessie wanted to paint the piano white, so she called me.
Look at the beautiful carved panels.
 I don't know the date when the piano was built, but it was before the 1920's.  
Sam showed me inside the piano where a piano tuner had written a date in the 20's.
Jessie wanted to leave a bit of the original finish, so that is the brown above.
Good idea and a nice contrast.
The white painted piano is on the wall to the right of this picture.
The colors are wonderful together.  Last year I painted the navy cabinet and Jessie put beautiful white antique family dishes inside the glass doors.  She's a good decorator.
~
I painted an oil based bonding primer and two coats of oil based paint.
The carved panel is removable, so Sam took if off of the piano for me to paint.