HomeMi CasaTutorialsInteriors etcMurals and ArtworkPainted Furniture

Thursday, January 24, 2013

FRENCH GREY HAND PAINTED DESK/TABLE

A little more than a year ago I designed and painted this desk/table.  I had most of the wood cut, my supplies and legs, and was going to build it myself.  Then I realized maybe I couldn't make it as strong and sturdy as my carpenter neighbor could.  So, I gave him the pieces and asked him to build it for me.


After my  neighbor did a great job of building this table, I painted it a french grey, painted a lighter french grey design, distressed and then aged it with an aging/antiquing glaze that I mixed.


For a while I had this table in a store, Gracious Living.  Kennie sold tons of my things, but this desk/table wasn't in there very long and Kennie closed her store.  So, it's been in storage and now I'm ready to sell it again.  I really love this desk/table, but don't have room for it in my house.


Here it is in Gracious Living.  Kennie put everything together so beautifully!


Since the french browny greys are so popular now, I think I'll paint some more things these colors.
Update:  I really love this table and couldn't bear to sell it, so I'm  now using it as my own desk.

Wednesday, January 23, 2013

REPAIRING A WALL BORDER WITH TEXTURE & PAINT

My client has Skin Rejuvenation Clinique, Broadway location.  She decided to open a "blow dry bar" and wanted it to connect to her existing business.  So, they had to make an opening between the two businesses.  For some reason, there was, already, a border painted on the wall where they cut the opening.  But, when they repaired around the new door frame, they couldn't help but float the wall, with sheetrock mud, onto the border.  Thus, destroying the faux finish.


The wall around the border was already fauxed a beigy color and there were definite lines around the existing border.  So, already being drawn, it was easy for me to follow the edge. 
I re-textured the border with a venetian plaster that I got at Lowes.


Then, I painted a base coat and let that dry.


Then, I added a darker color to age the new texture.  I brushed the paint on and then wiped it off with a rag.  The dark color stained the paint color and stayed in the crevices of the texture.
I love texturing and aging a wall!  But, this time, all I worked on was the border.


My client was out of town when I finished this border.  I'm thinking she'll be really happy because she loves things to look old and this border looks old!  And it matches, really well, with their floors and existing wood decor.
( This morning, I heard from Tina.  She emailed me and she was very happy with the wall...
                                                   "Great, love the wall it looks awesome."
                                                            I thought she would like it! )

Sunday, January 20, 2013

PAINTING ARTWORK FOR JUSTIN'S ROOM...A TREE & BIRDS, SQUIRRELS & A LIZARD

Justin was just a little boy, when his mom asked me to paint a tree on his wall.  He's big, now, and this wall has been repainted and artwork painted over, but I have these photos, these memories!!  I bet, when they see his little boy room, again, it will bring back sweet memories.


I love birds and seem to always want to put birds, somewhere in the scene.  It was a while back, but I think I painted these little blue birds, because they matched some of his bedding or some decor in his room.  Or, maybe, I painted the blue birds because he was a little boy.


These squirrels are having fun, playing up and down the tree and Justin said he wanted a lizard, too.
The chameleon is watching the squirrels play.


Back then, I did quite a bit of work in this beautiful home.  A mural in three bedrooms, painted the walls, painted a special finish on the kitchen cabinets. Lots of other work, too.
Thank you for the very nice memories!

Saturday, January 12, 2013

REALLY CUTE TEENAGE GIRL's BATHROOM WITH MONKEY GIRL PORTRAITS

LOOK at this cute, cute bathroom for a teenager!!


About a year ago, I painted the cabinets in this bathroom to an aged, distressed finish.  The large mirror over the sink was crackled and my client wanted the cabinets to look, kind of, like that finish, but brown tones.


So, this time, my client asked me to come back and paint the chair molding, baseboards and medicine cabinet to match the base cabinet.


On the counter top, there is a very nice dark granite.  The doors and door frames, the bathtub and tile surround and the floor are white.  The walls are a browny, creamy beige. The colors and contrast of the colors look very, very nice together.


The dark tones that I added this time look so nice!  When I painted last year, she didn't have the monkey girl portraits and the dark tones look great with those colors.

Sunday, January 6, 2013

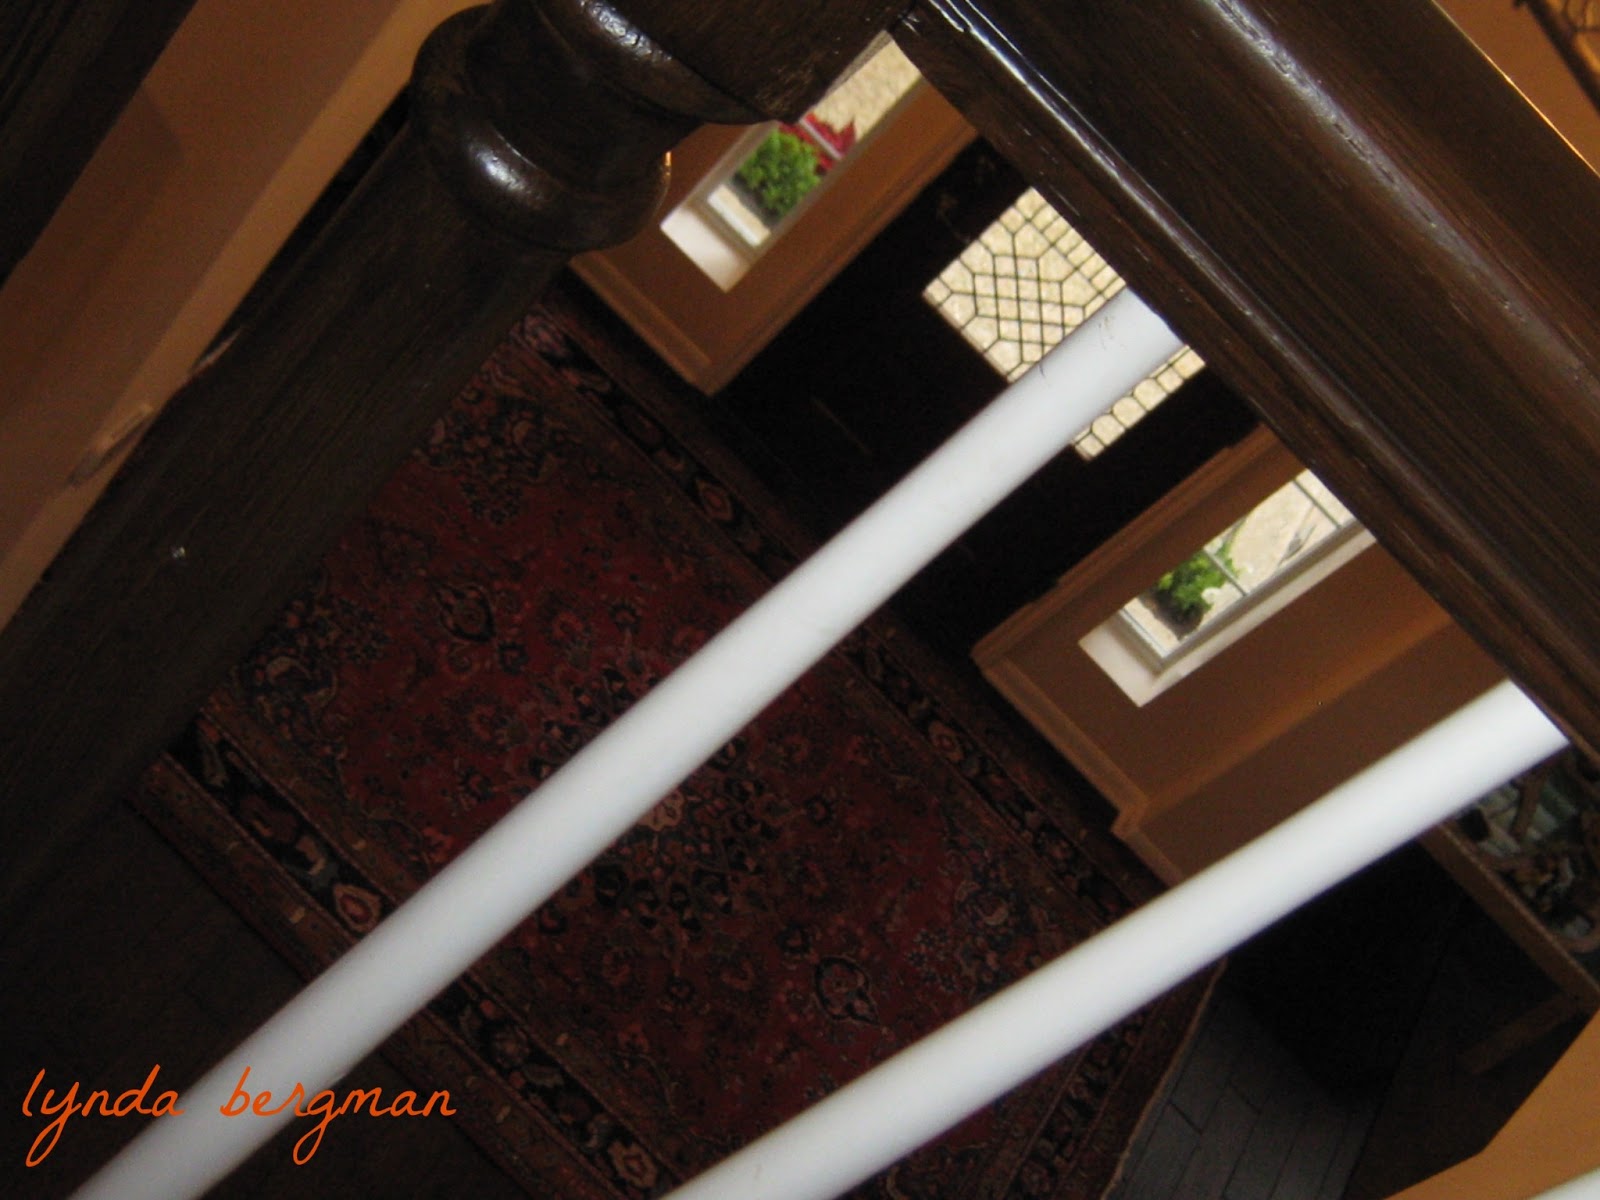
PAINTING A PICKLED WOOD STAIRWELL BANISTER TO LOOK LIKE STAINED WOOD

Lisa got new hardwood flooring and it is beautifully, richly dark.  The pickled wood banister on her stairwell didn't look right or go with the floors, anymore.


I had just worked for her next door neighbor, painting a special finish so their pickled wood bath cabinets would look like stained wood.  Lisa saw and loved the transformation and called me and asked if I could do the same process to her banister.


Yesterday, I finished her job and they are very happy with their new banister!  Lisa noticed my brush strokes and thought they looked like woodgrain.  
This special finish, has several layers and I had to be very careful with my brush strokes.  Because of the layers of primer and paint, you could no longer see the actual woodgrain.  I had to make sure that I brushed in the direction the grain would naturally flow and create new woodgrain.


As I completed the job, I painted two layers of clear sealer to protect the finish.  In some places, I painted a third coat, especially in the areas and posts that might be bumped a lot.
This is such a beautiful home and Lisa's idea to darken the banister was a really good one.  It, totally, changed the look of the entry into her lovely home.

Friday, January 4, 2013

HAND PAINTED TREE & STRIPES ARTWORK ON AN ARMOIRE & TUTORIAL

HAND PAINTED TREE & STRIPES ARTWORK ON AN ARMOIRE & TUTORIAL   

 This pine armoire has been in my living room for years and I love it just where it is.  When I purchased it they told me it was from Stratford, England.  The inside looked very old and had old shelf paper on the shelves.  I store lots of vases, serving pieces, punch bowl, party dishes and lots of other things in it.  It's very large and holds a lot.  Thank goodness! 
 My house is small and I don't have a lot of storage.
For a long time I've been wanting to paint it, but just haven't been sure which way to go.  One day when I was painting another piece of furniture I knew that was the color for the armoire.  And, I thought black would look really good with the greenie beigy color.  
~
TUTORIAL  
Using vertical strokes, I painted over the pine with a light coat of the greenie beige so the color of the pine would show through.  Then, I drew and painted the tree, then drew and painted the stripes with one coat of black (vertical strokes) and trimmed it with metallic gold.  I still love the way it looks.  I'm very happy with my yellow walls, but if  I ever paint them a different color I think the neutral colors on the armoire would still look good.

MY NEW BLOG DESIGN BY KAREN VALENTINE OF VALENTINE DESIGN

Did you notice my new blog design??? I am so thrilled with my new look and a big THANKS goes out to Karen Valentine of Valentine Design for putting it together for me.  She was so great to work with and gave me exactly, (actually more), what I was asking for.  She used my artwork for all of the icons and border.  I'm sooo happy!  Now, I have a real blog!!  Thank you, Karen!!!

MY NEW BLOG DESIGN BY KAREN VALENTINE OF VALENTINE DESIGN