HomeMi CasaTutorialsInteriors etcMurals and ArtworkPainted Furniture

Saturday, January 12, 2013

REALLY CUTE TEENAGE GIRL's BATHROOM WITH MONKEY GIRL PORTRAITS

LOOK at this cute, cute bathroom for a teenager!!


About a year ago, I painted the cabinets in this bathroom to an aged, distressed finish.  The large mirror over the sink was crackled and my client wanted the cabinets to look, kind of, like that finish, but brown tones.


So, this time, my client asked me to come back and paint the chair molding, baseboards and medicine cabinet to match the base cabinet.


On the counter top, there is a very nice dark granite.  The doors and door frames, the bathtub and tile surround and the floor are white.  The walls are a browny, creamy beige. The colors and contrast of the colors look very, very nice together.


The dark tones that I added this time look so nice!  When I painted last year, she didn't have the monkey girl portraits and the dark tones look great with those colors.

Sunday, January 6, 2013

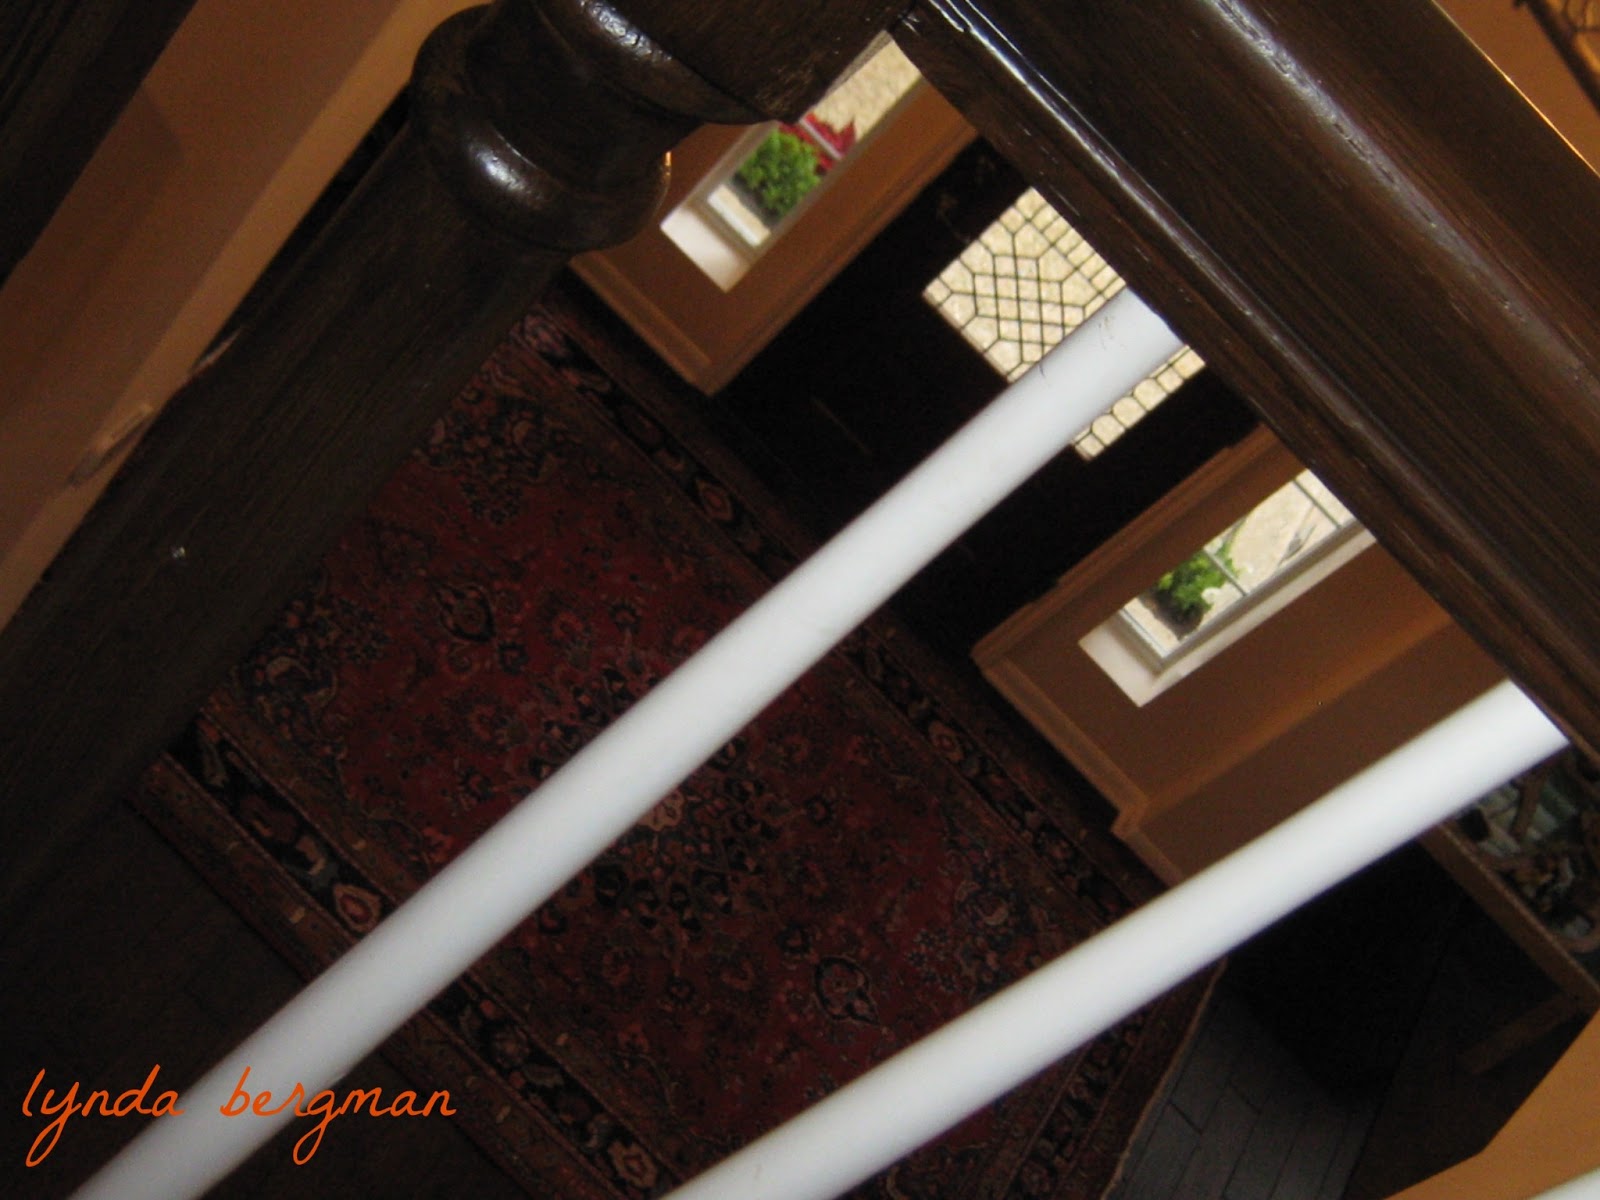
PAINTING A PICKLED WOOD STAIRWELL BANISTER TO LOOK LIKE STAINED WOOD

Lisa got new hardwood flooring and it is beautifully, richly dark.  The pickled wood banister on her stairwell didn't look right or go with the floors, anymore.


I had just worked for her next door neighbor, painting a special finish so their pickled wood bath cabinets would look like stained wood.  Lisa saw and loved the transformation and called me and asked if I could do the same process to her banister.


Yesterday, I finished her job and they are very happy with their new banister!  Lisa noticed my brush strokes and thought they looked like woodgrain.  
This special finish, has several layers and I had to be very careful with my brush strokes.  Because of the layers of primer and paint, you could no longer see the actual woodgrain.  I had to make sure that I brushed in the direction the grain would naturally flow and create new woodgrain.


As I completed the job, I painted two layers of clear sealer to protect the finish.  In some places, I painted a third coat, especially in the areas and posts that might be bumped a lot.
This is such a beautiful home and Lisa's idea to darken the banister was a really good one.  It, totally, changed the look of the entry into her lovely home.

Friday, January 4, 2013

HAND PAINTED TREE & STRIPES ARTWORK ON AN ARMOIRE & TUTORIAL

HAND PAINTED TREE & STRIPES ARTWORK ON AN ARMOIRE & TUTORIAL   

 This pine armoire has been in my living room for years and I love it just where it is.  When I purchased it they told me it was from Stratford, England.  The inside looked very old and had old shelf paper on the shelves.  I store lots of vases, serving pieces, punch bowl, party dishes and lots of other things in it.  It's very large and holds a lot.  Thank goodness! 
 My house is small and I don't have a lot of storage.
For a long time I've been wanting to paint it, but just haven't been sure which way to go.  One day when I was painting another piece of furniture I knew that was the color for the armoire.  And, I thought black would look really good with the greenie beigy color.  
~
TUTORIAL  
Using vertical strokes, I painted over the pine with a light coat of the greenie beige so the color of the pine would show through.  Then, I drew and painted the tree, then drew and painted the stripes with one coat of black (vertical strokes) and trimmed it with metallic gold.  I still love the way it looks.  I'm very happy with my yellow walls, but if  I ever paint them a different color I think the neutral colors on the armoire would still look good.

MY NEW BLOG DESIGN BY KAREN VALENTINE OF VALENTINE DESIGN

Did you notice my new blog design??? I am so thrilled with my new look and a big THANKS goes out to Karen Valentine of Valentine Design for putting it together for me.  She was so great to work with and gave me exactly, (actually more), what I was asking for.  She used my artwork for all of the icons and border.  I'm sooo happy!  Now, I have a real blog!!  Thank you, Karen!!!

MY NEW BLOG DESIGN BY KAREN VALENTINE OF VALENTINE DESIGN

Thursday, December 13, 2012

PAINTING NEW WOOD TO MATCH OLD FINISH ON KITCHEN CABINETS

PAINTING NEW WOOD TO MATCH OLD FINISH ON KITCHEN CABINETS

Nine years ago, I painted these kitchen cabinets to a special old finish.  Before I painted, they were a white washed/pickled finish and the client wanted a major change.
Recently, my client called and said she had replaced her refrigerator and dishwasher cabinet fronts and they needed to be painted to match the cabinets.
Thank goodness, I keep a large notebook of clients' finishes and formulas.
On these cabinets, I used oil based products and those products age and amber, especially after nine years.  So, I had to work with the new wood, just a little bit.  After a few weeks I plan to look at them again to see if I need to age them a little bit more.  IN THESE PICTURES, I HAD NOT SEALED THEM, YET.  THE OIL BASED SEALER WILL AMBER RIGHT AWAY.   IT WILL CHANGE AND DARKEN THE NEW PAINT.  It will make the new paint match a little better.  And, over time, the oil will darken more, hopefully,  making the new cabinet fronts match the old.
When I first painted the cabinets, my client asked me to paint this stool with artwork and to match the cabinets.  She thought grapes would be nice for the artwork.
They wanted a space for cookbooks and decorative dishes.  So, they selected carefully which two cabinet doors to remove that would show and look the best.  I told them I could build them a plate rack to go on the bottom shelf and they liked that idea. So, I did.
 It's really easy to build a plate rack.
It looks nice in the middle of allll those closed cabinet doors.  So,
~
HERE IS A LINK TO MY BUILDING A PLATE RACK TUTORIAL:

Sunday, December 9, 2012

I LOVE MY HOME!

I was in the front yard watering and a lady in a bright yellow mustang with a black convertible top stopped and told me she loved my house and she drives by all the time, just to look at it.  That was so nice of her and especially to stop to tell me.  I know of a couple of other people who drive by, when they're in the neighborhood, just to look at my house.  That is very special to me and makes me wish I would do a lot more trimming and deadheading.  Oh, and I LOVED her car!


In this photo, you can't see it, but in that big space between the windows, I painted a pink crepe myrtle tree and a little bird flying to it. 


This is my garage door and I painted my cat, Mr. Smith and a pot of blue plumbago.  On the left, there is a kitty door in the middle of the pot plant.


I LOVE MY HOME!


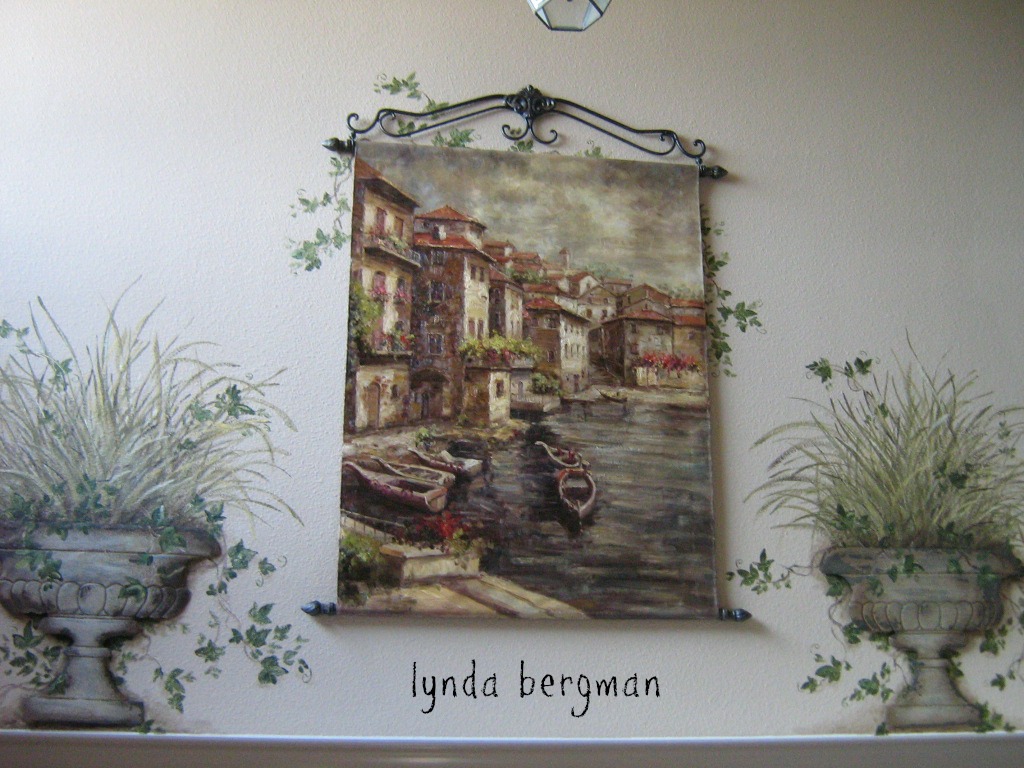
HAND PAINTING ARTWORK IVY & LIRIOPE AROUND METAL URN PLAQUES (TROMPE L'OEIL)

HAND PAINTING ARTWORK IVY & LIRIOPE AROUND METAL URN PLAQUES (TROMPE L'OEIL)

Visiting one of my very favorite stores, I found some flat metal wall plaques that were shaped like urns.  I loved them and knew I wanted to hang them on my fence and paint flowers coming out of them.  Sorry, no photos of my fence, right now.  So, when a client called me and wanted me to paint something in her entry way up high over the very wide opening to her dining room, I immediately thought of those urns.  She already had the canvas painting and I could just picture urns with greenery coming out of them on either side of the painting.  
And, because it was so high I knew it needed something large like these urn plaques.
I suggested she go to that store to see if they still had these urns.  And, I told her I could paint plants coming out of the urns.  She liked the idea.  She did find the urns and when I went back to paint, they were already placed exactly where she wanted them.
Standing on my extension ladder, I painted liriope and ivy coming out of the urns and a little bit of ivy behind the canvas painting.
She was very, very happy with the way it changed the look of the entry into her home.  
I loved it, too!! 
 Of course, it was my idea, but I just knew it would look great!