HomeMi CasaTutorialsInteriors etcMurals and ArtworkPainted Furniture

Thursday, March 20, 2014

PAINTING A BLACK DISTRESSED FINISH ON LORI'S NEW WET BAR

Lori wanted to change her wet bar area.
  She had a new cabinet built and had beadboard installed on the wall under the bar.  Also, she added new tile on the back splash.  She showed me a picture of the special finish she wanted on the new and old cabinets.  The original cabinets were the pickled/white washed finish.
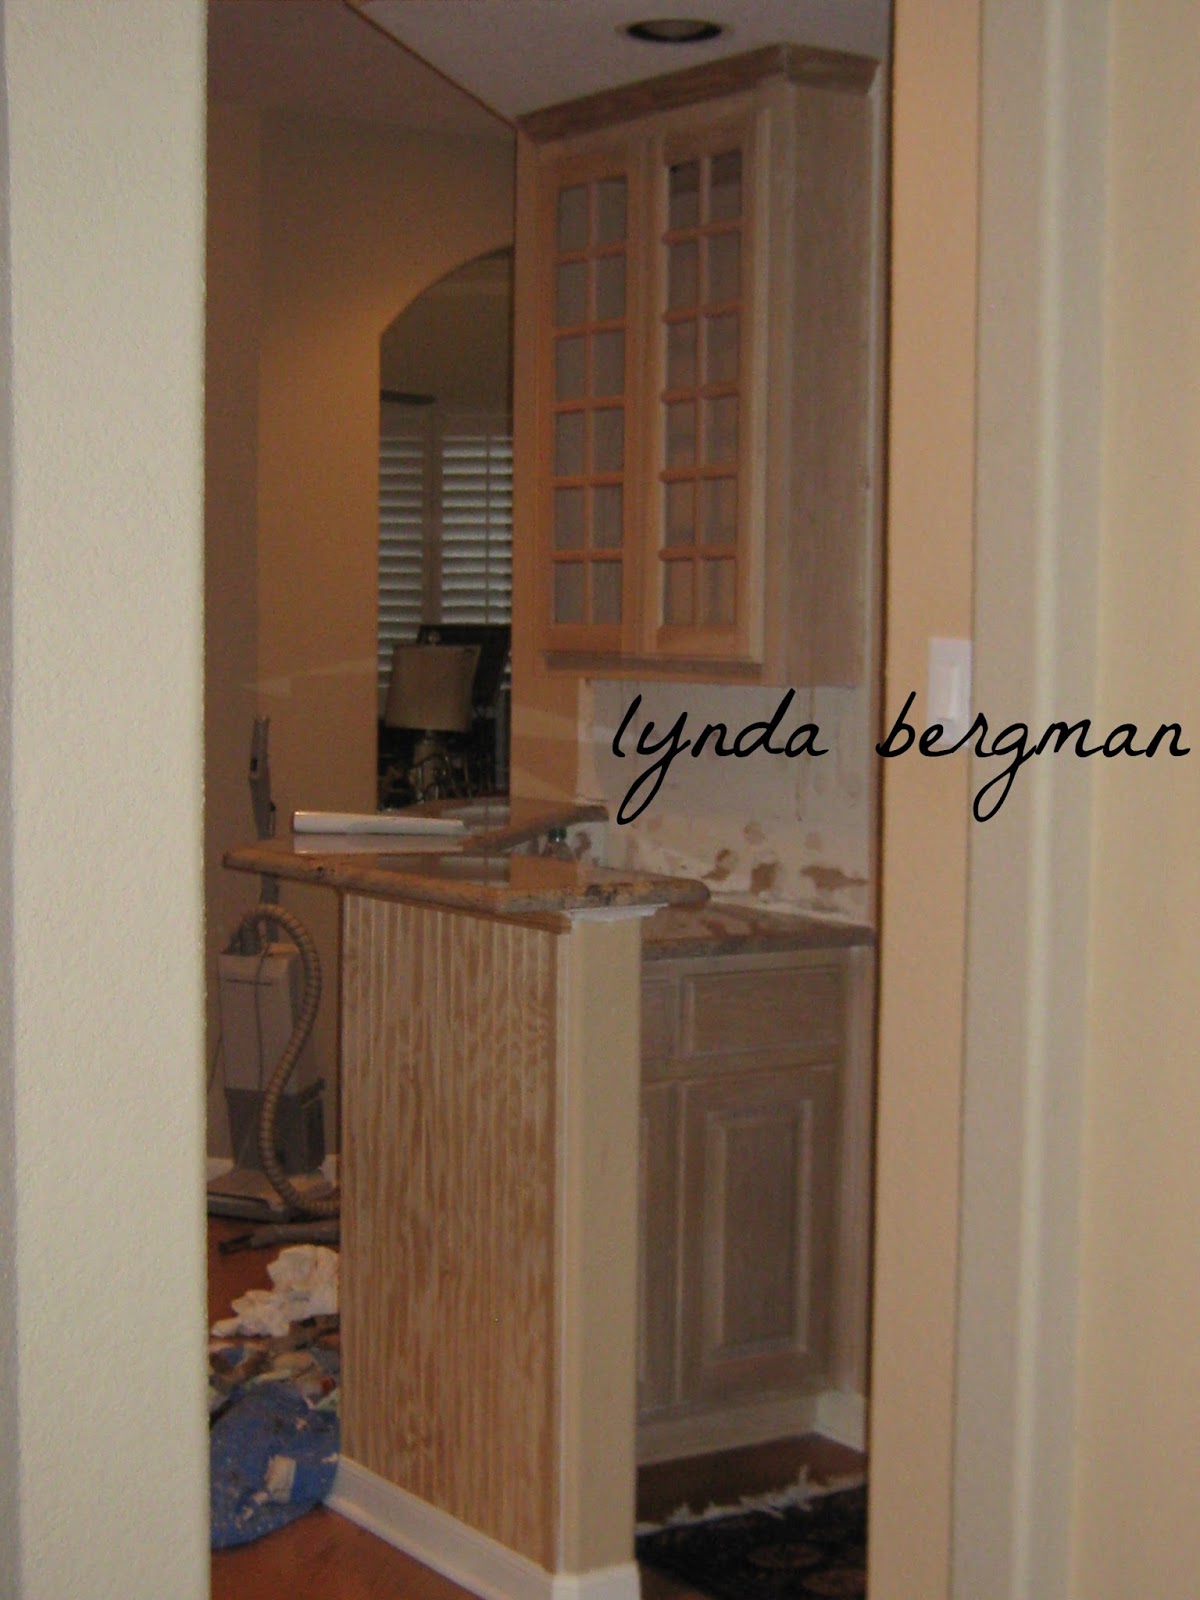
She wanted black distressed.
(She's having walls and ceilings painted and she said the other painter could touch up my messy lines.)
This wet bar is kind of in the middle of her living area and the new wood that she added and the black distressed finish look just wonderful!!  
Black is such a good "accent" color and for this wet bar, such a great choice. 
Remember Panda Lu?
  When she was tiny, Lori taught her to ring that bell when she needed to go out and it's the cutest thing!  She will keep touching and ringing the bell until someone notices and lets her out.  Her sister, Buffy, is a senior doggie and doesn't think much of ringing the bell.  But, when Buffy is standing at the door to go out, Panda Lu will ring it for her.  I was working right there by the door and it tickled me to watch Panda Lu managing all the "going out" time.
Selfie of my leg :)  
I always sit on the floor to paint the baseboards and bottom of whatever I'm painting and since the floor is cold in winter, I wear long socks and they're so warm.  I have colorful socks to match all of my paint clothes.
 I'm really colorful, but I'm good with that!!
I just love the black contrast with her lighter floors and walls.
Lori planned, very carefully, the design of her new wet bar.
So glad I got to paint it for her and she's very, very happy.
 This sweet message was in an email she sent to me.

                                           Thank you Lynda, and Brian is home now and loves all your work.
                 Thank you again, you’re the BEST!! Your talent is a true treasure and I couldn’t ‘create’ without you!!
                                                                                                 Lori


 That makes me feel really good!
 Thank you, Lori!! 

Sunday, March 9, 2014

PAINTING A GEL STAIN ON A HUGE BEAUTIFUL DINING ROOM TABLE

PAINTING A GEL STAIN ON A HUGE BEAUTIFUL DINING ROOM TABLE

Thank goodness!! 
 I have my house back...
A couple of weeks ago, my client brought this HUGE dining room table for me to paint to look like stained wood.
They wanted me to match it to their new dining room chairs and I got it pretty close.  It was already a very beautiful table, but with this finish, it is very fine and elegant.
With the two leaves, it was 9' 3" long.  I could barely move past it in my dining room.
That's why I'm so happy to have my house back!! 
I had to move my dining room furniture into the living room.  My house is small and my studio is full, so my dining room was the ideal place for this huge table.
Then, Patti brought this HUGE mirror for me to paint for her beach house and it fit perfectly on my dining room table~~~in the living room!
She asked me to paint and distress it the salmon color I painted her wonderful pantry doors.  Remember those pantry doors?
This mirror turned out so, so special and will show that to you, soon.
This is the pickled/white washed finish that was on the dining room table BEFORE.
From time to time, I have to move my furniture out of the room to paint larger pieces.
Today, both pieces were picked up within a couple of hours of each other.  
When I have to move my furniture out of the way, I really don't mind because when I put everything back in it's place, it's like new again and I really appreciate my home.
Within a couple of hours I had everything vacuumed and back in place.
I love my home!
~
I've written an eBook about painting with gel stains.  
Here is a link if you would like that information:

Tuesday, March 4, 2014

MY CLEAN, NEWLY PAINTED MAILBOX

My mail lady will be very surprised!
FINALLY, I painted my mailbox and it looks soooo pretty and clean.


It's in the hot sun and the paint had faded and there was a little bit of rust on it.
I found a tiny can of acrylic black paint at Lowe's and thought it was the perfect size, perfect amount of paint.  Then, I used a craft paint "red" to paint the flag.
I'm just mighty proud, driving up to my house and my mailbox looking so cool and sophisticated!!
I think I'm gonna mow my yard!  Well, when it warms up a bit.

Sunday, March 2, 2014

Wednesday, February 26, 2014

PAINTING DENIM & TURQUOISE STRIPED TABLE FOR PATTI'S BEACH HOUSE

PAINTING DENIM & TURQUOISE STRIPED TABLE FOR PATTI'S BEACH HOUSE

Patti is still decorating her newly built beach house.
She brought this sofa table over and asked me to paint stripes on it.
She chose a denim color and a lighter turquoise blue for the stripes.  
I love the contrast of the two colors and 
I LOVE the way it turned out!!!
I think you can see in this picture that I sanded and distressed all the edges, just a little bit.
Before she saw it, I sent Patti a couple of emails telling her how CUTE it turned out...just teasing her.  But, I wouldn't send her a picture.  It's always best to actually see the piece.
This is the table "before".  
It is long and narrow and I loved it the way it was before I painted it.  
But the boss, Patti, LOVED the new colors. 
 She said it might be her favorite piece that she's had me do in a long time.
I suggested that she tell her grandbabies that this is her "cat in the hat" table.
When she picked up this table, she brought me a HUGE beautiful mirror to paint a light orangey color.  Remember orangey colored dreamcicles??  I wonder if they still make them.  When I was a little girl, I could hardly wait to spend my nickels on a dreamsicle.
~
TUTORIAL

If you want perfect stipes you use tape or you measure, draw and paint very carefullly.
Patti likes things to look hand painted and not perfect.  I do, too.
I painted the denim base coat.  With a pencil and ruler I measured and drew the stripes.
If you want the stripes to start and end with the same color, keep that in mind when you are measuring for your stripes.  I used a brush and painted linear strokes (no tape).
I painted only one coat of turquoise and let some of the base denim color show through.  
I think that looks old and weathered.
Last thing is to paint two or three coats of a low sheen clear sealer. 

Saturday, February 22, 2014

PAINTING & DISTRESSING TEAL & BLACK CABINET FOR NEW POWDER ROOM SINK

Isn't this the neatest little chest?
My client is building a new home.  She delivered this unfinished cabinet to my studio and told me she wanted me to paint a teal bottom with a black top.
She will be placing a stone sink on the top, so the browns and beige undertones will look really nice and tie in with the stone finish.


After I painted and distressed, I painted on and rubbed off a dark stain to match the black top.


I love to distress and age furniture.


This top is distressed a little heavily, but I wasn't sure about the size of the sink and how much surface it would cover.
When she came to pick it up, she was very happy with the new finish.
That's what I care about!
Making my client happy with my work.

Friday, February 21, 2014

PAINTING NEW EXTERIOR SIDING & TUTORIAL

A couple of months ago my friend Gus replaced some siding on my sewing room walls.  He replaced it with Hardie which will last forever!


A couple of days ago, I removed the mildew with  my garden sprayer.  I used 1/2  bleach and 1/2 water.  I wish I had an organic way to get the mildew off, but this is the best solution I know.  After a very few minutes when the mildew was gone, I soaked the area very well with lots of water, trying to dilute the chemicals as fast as I could.  The little geckos, chameleons, frogs and other little creatures are hibernating right now and I didn't want to hurt them with the chemicals.  I did see a gecko and a chameleon and they did not seem to be bothered, so I guess I watered it down fast enough.
After that dried very well, I caulked every single black crack, seam, nail and screw hole.  It keeps moisture out of your walls and trim and keeps bugs out of your walls.  
Caulking really does make the paint job look so much better.  


Freshly painted and looks sooo clean and nice!!
Those are the shelves where I store all of my flower pots.
Prepping and painting the exterior takes a lot of time.  So, I will paint only one or two walls at a time...only what I have time to get done in a day or so.  It's just too overwhelming to try to do more and I might keep putting off the painting that needs to be done.


All of the other garden things, I keep in my garden shed out of the weather.
Of course, this picture was taken last summer, when everything was green.
Can't wait for spring and everything green, again!!